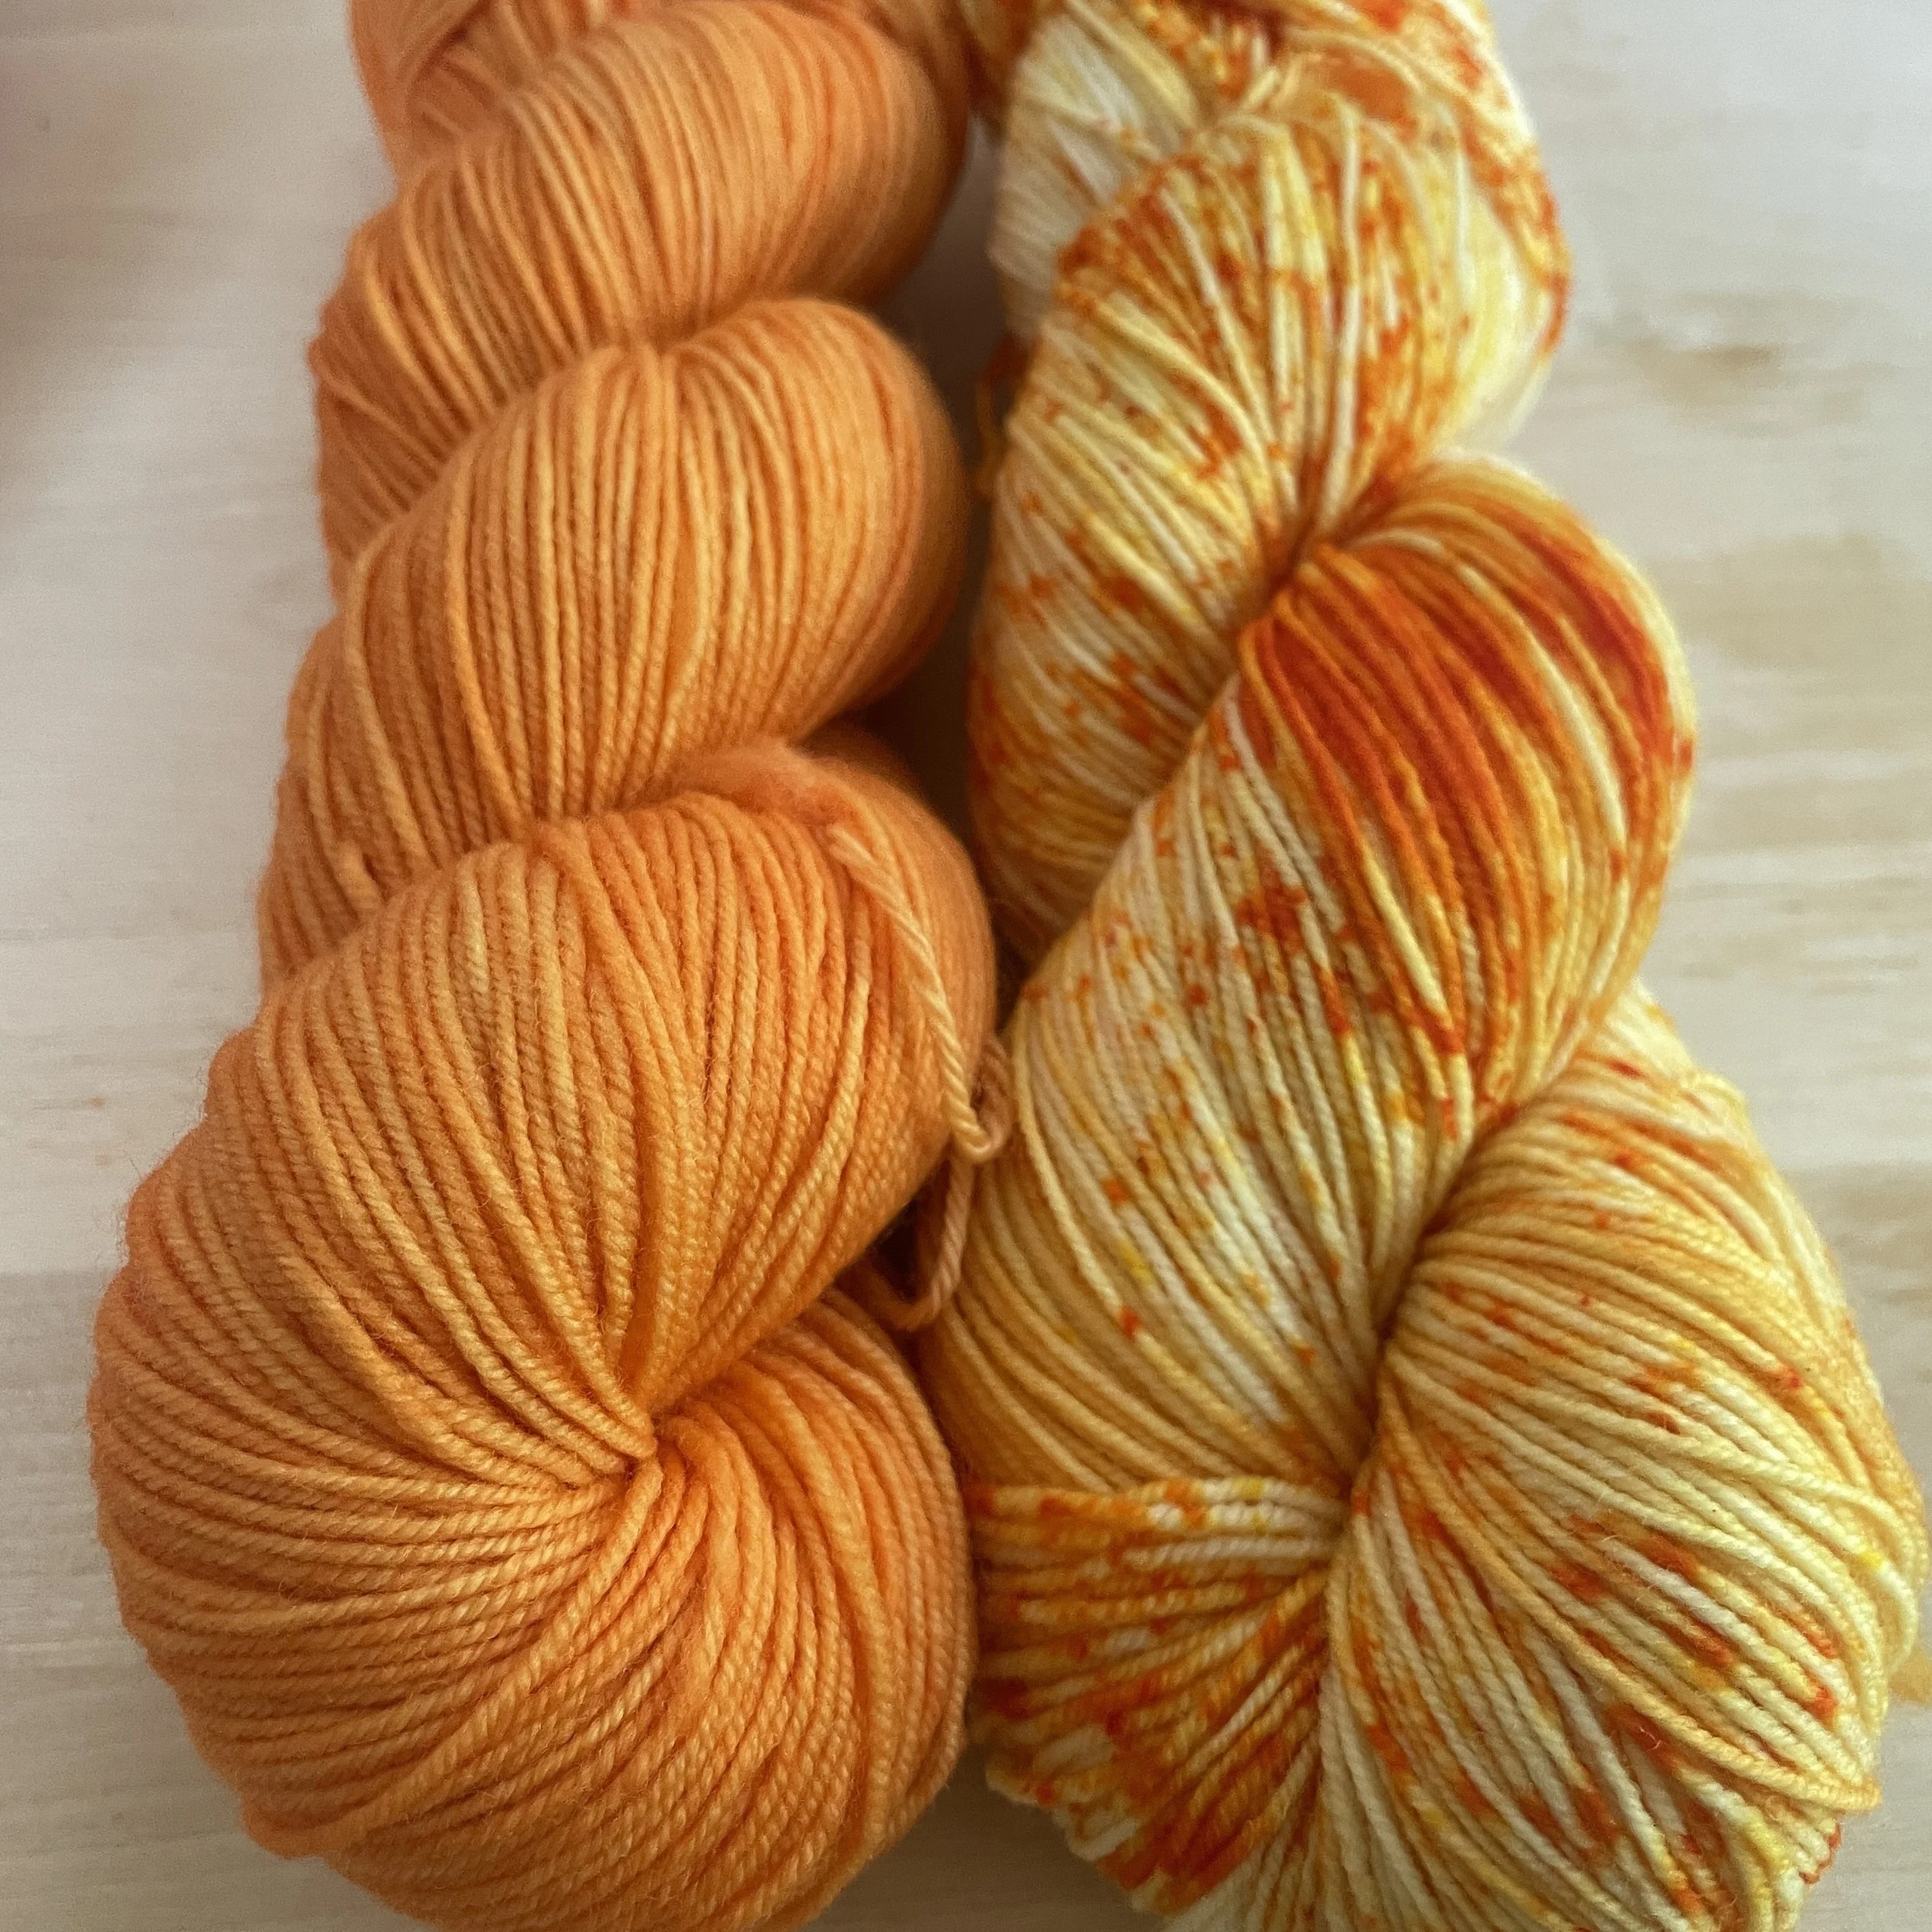
TO ACHIEVE A SPECKLED LOOK:
First, choose your cooking method. Will you be using a stove or the microwave? The instructions are essentially the same for both methods. The larger the vessel you use, the more surface area you’ll have, which will make the speckling more even.
Things you’ll need:
A pair of tongs, a spoon, or some other utensil to lift hot yarn out of the dye bath.
A bowl to soak your yarn in. If you’re using the microwave, you’ll need a microwave safe dish.
If you’re using the stove-top, you’ll need a pot.
Finally, it’s always a good idea to have an old towel to protect your work surface, and an old rag to wipe up any dye. THE DYE WILL STAIN MOST SURFACES!
NOTE: Please read the instructions all the way through before starting!
1. Open your Kit. Inside it you’ll find a skein of yarn, and 2 paper dye packets that look similar to those you find in a jello box. These packets contain a mixture of dye powder and citric acid, along with a desiccant pack that you will remove before dyeing your yarn.
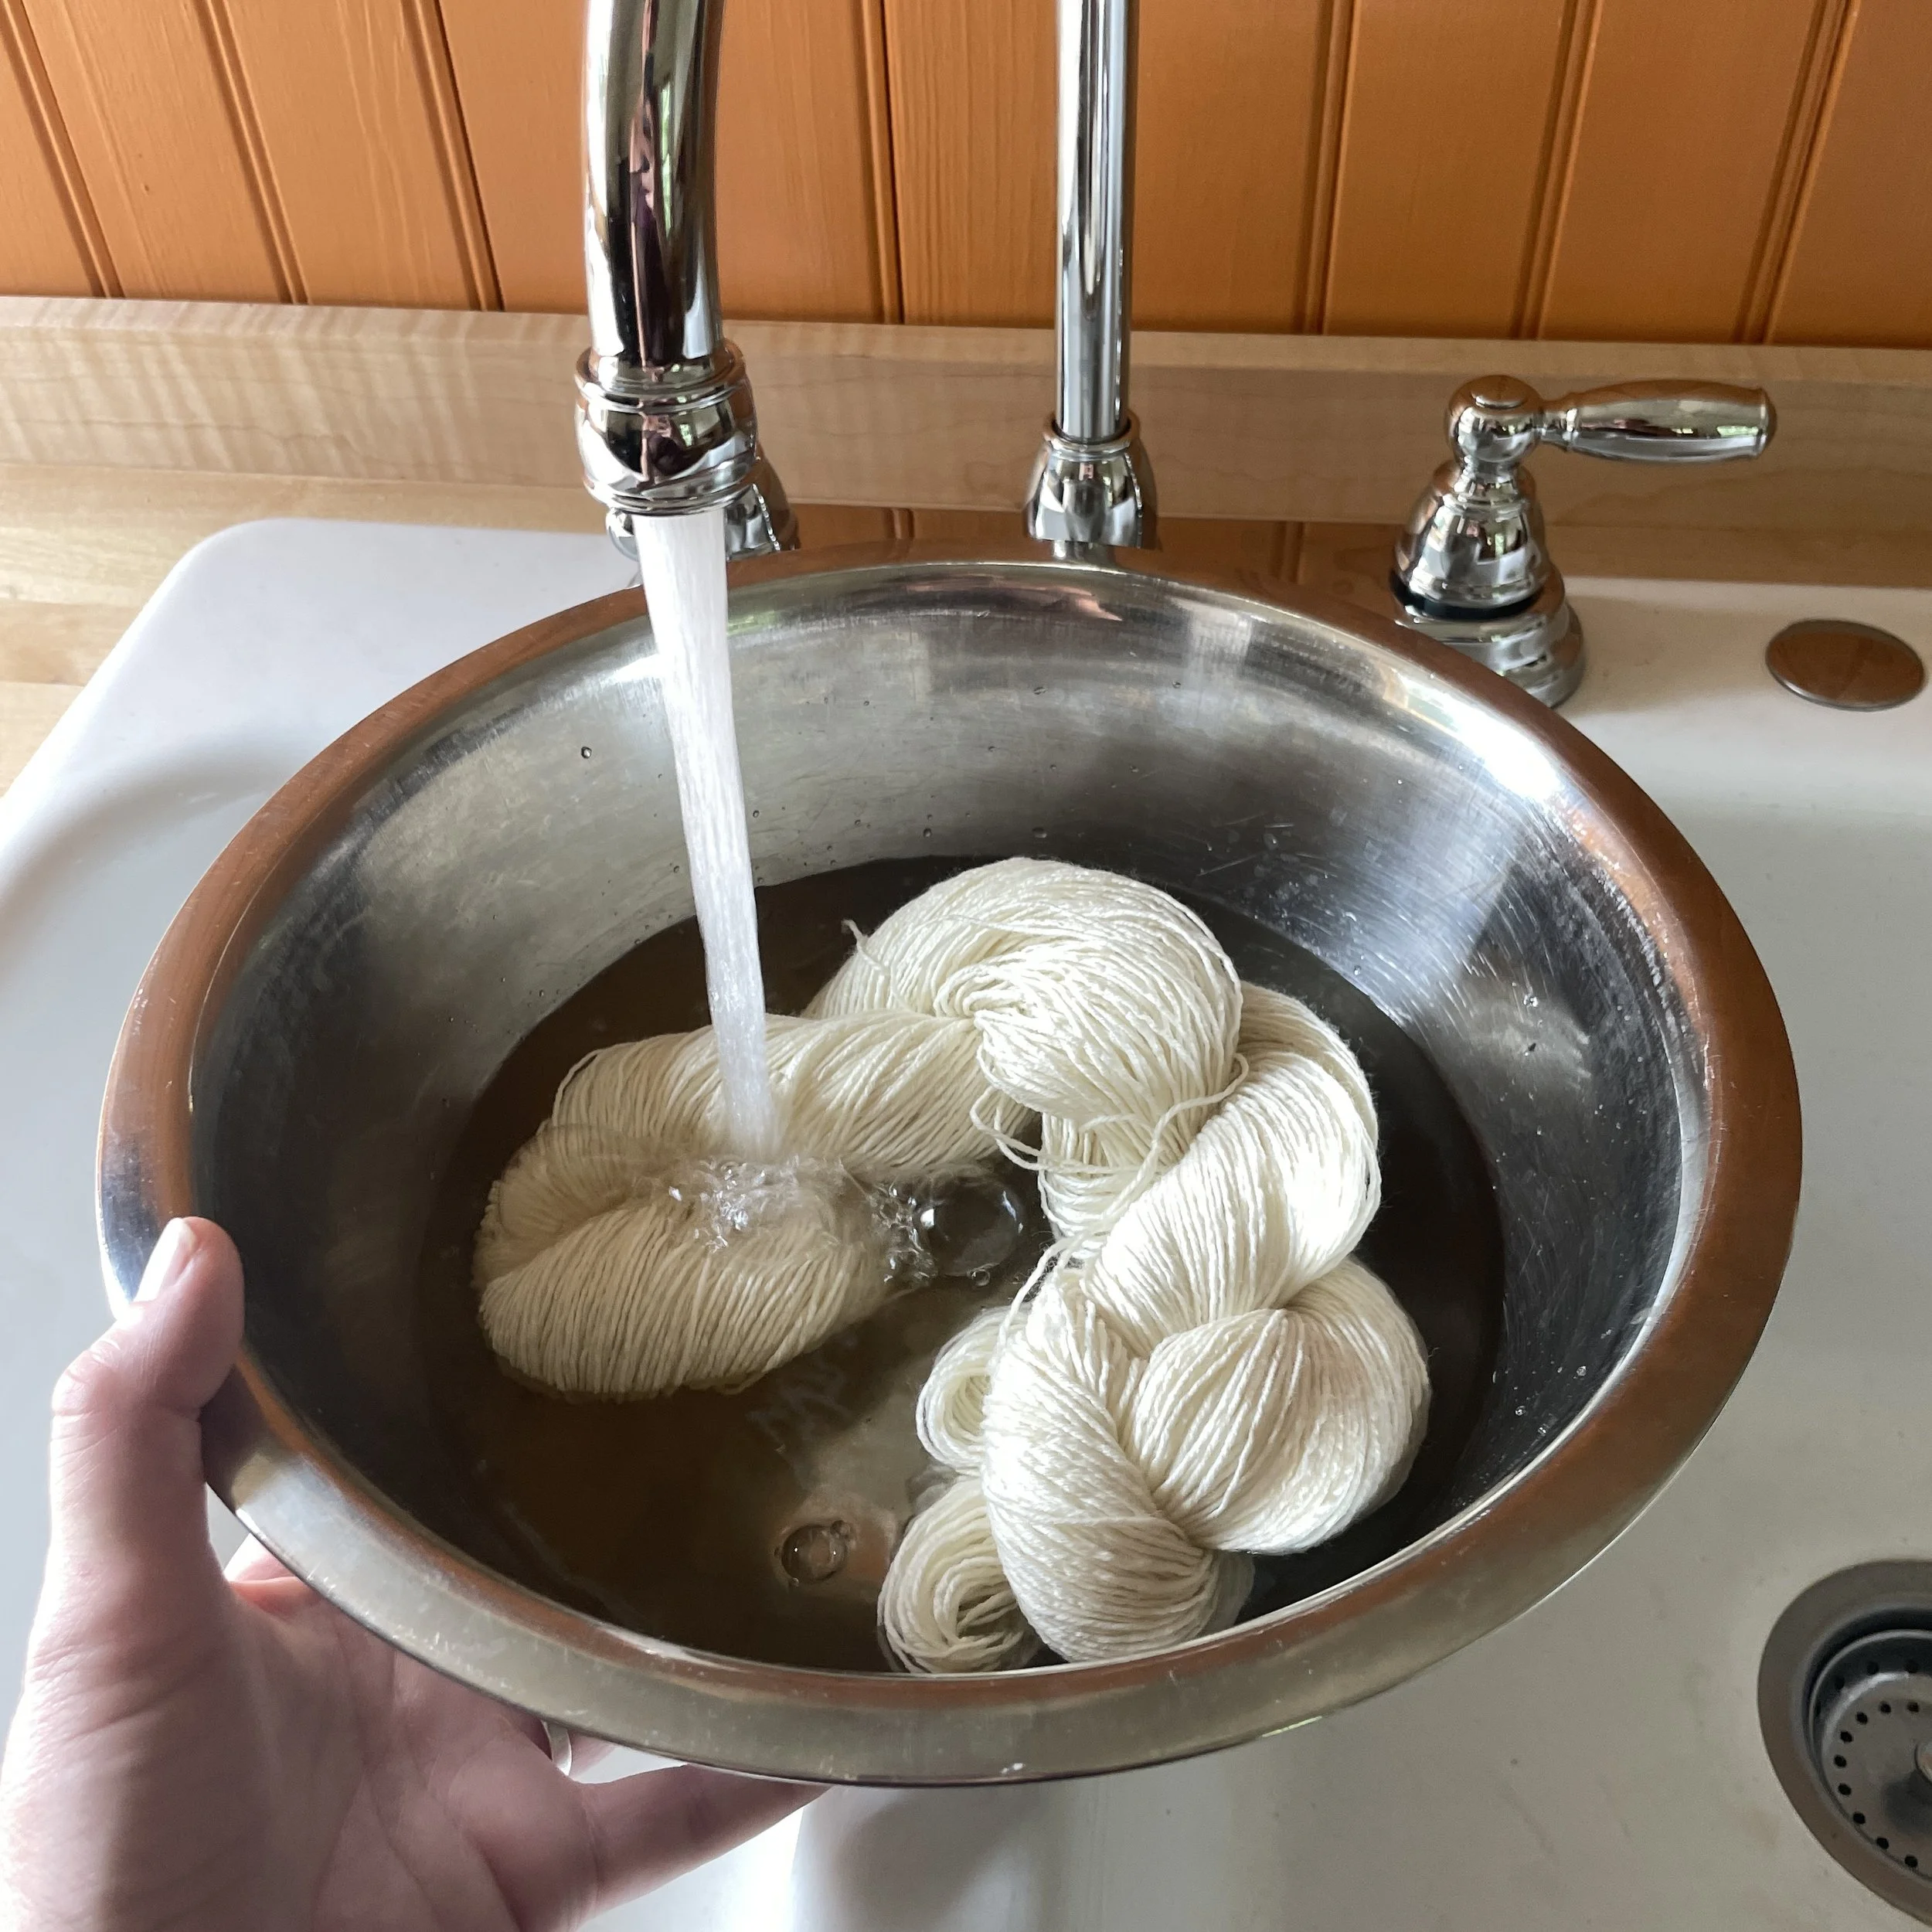
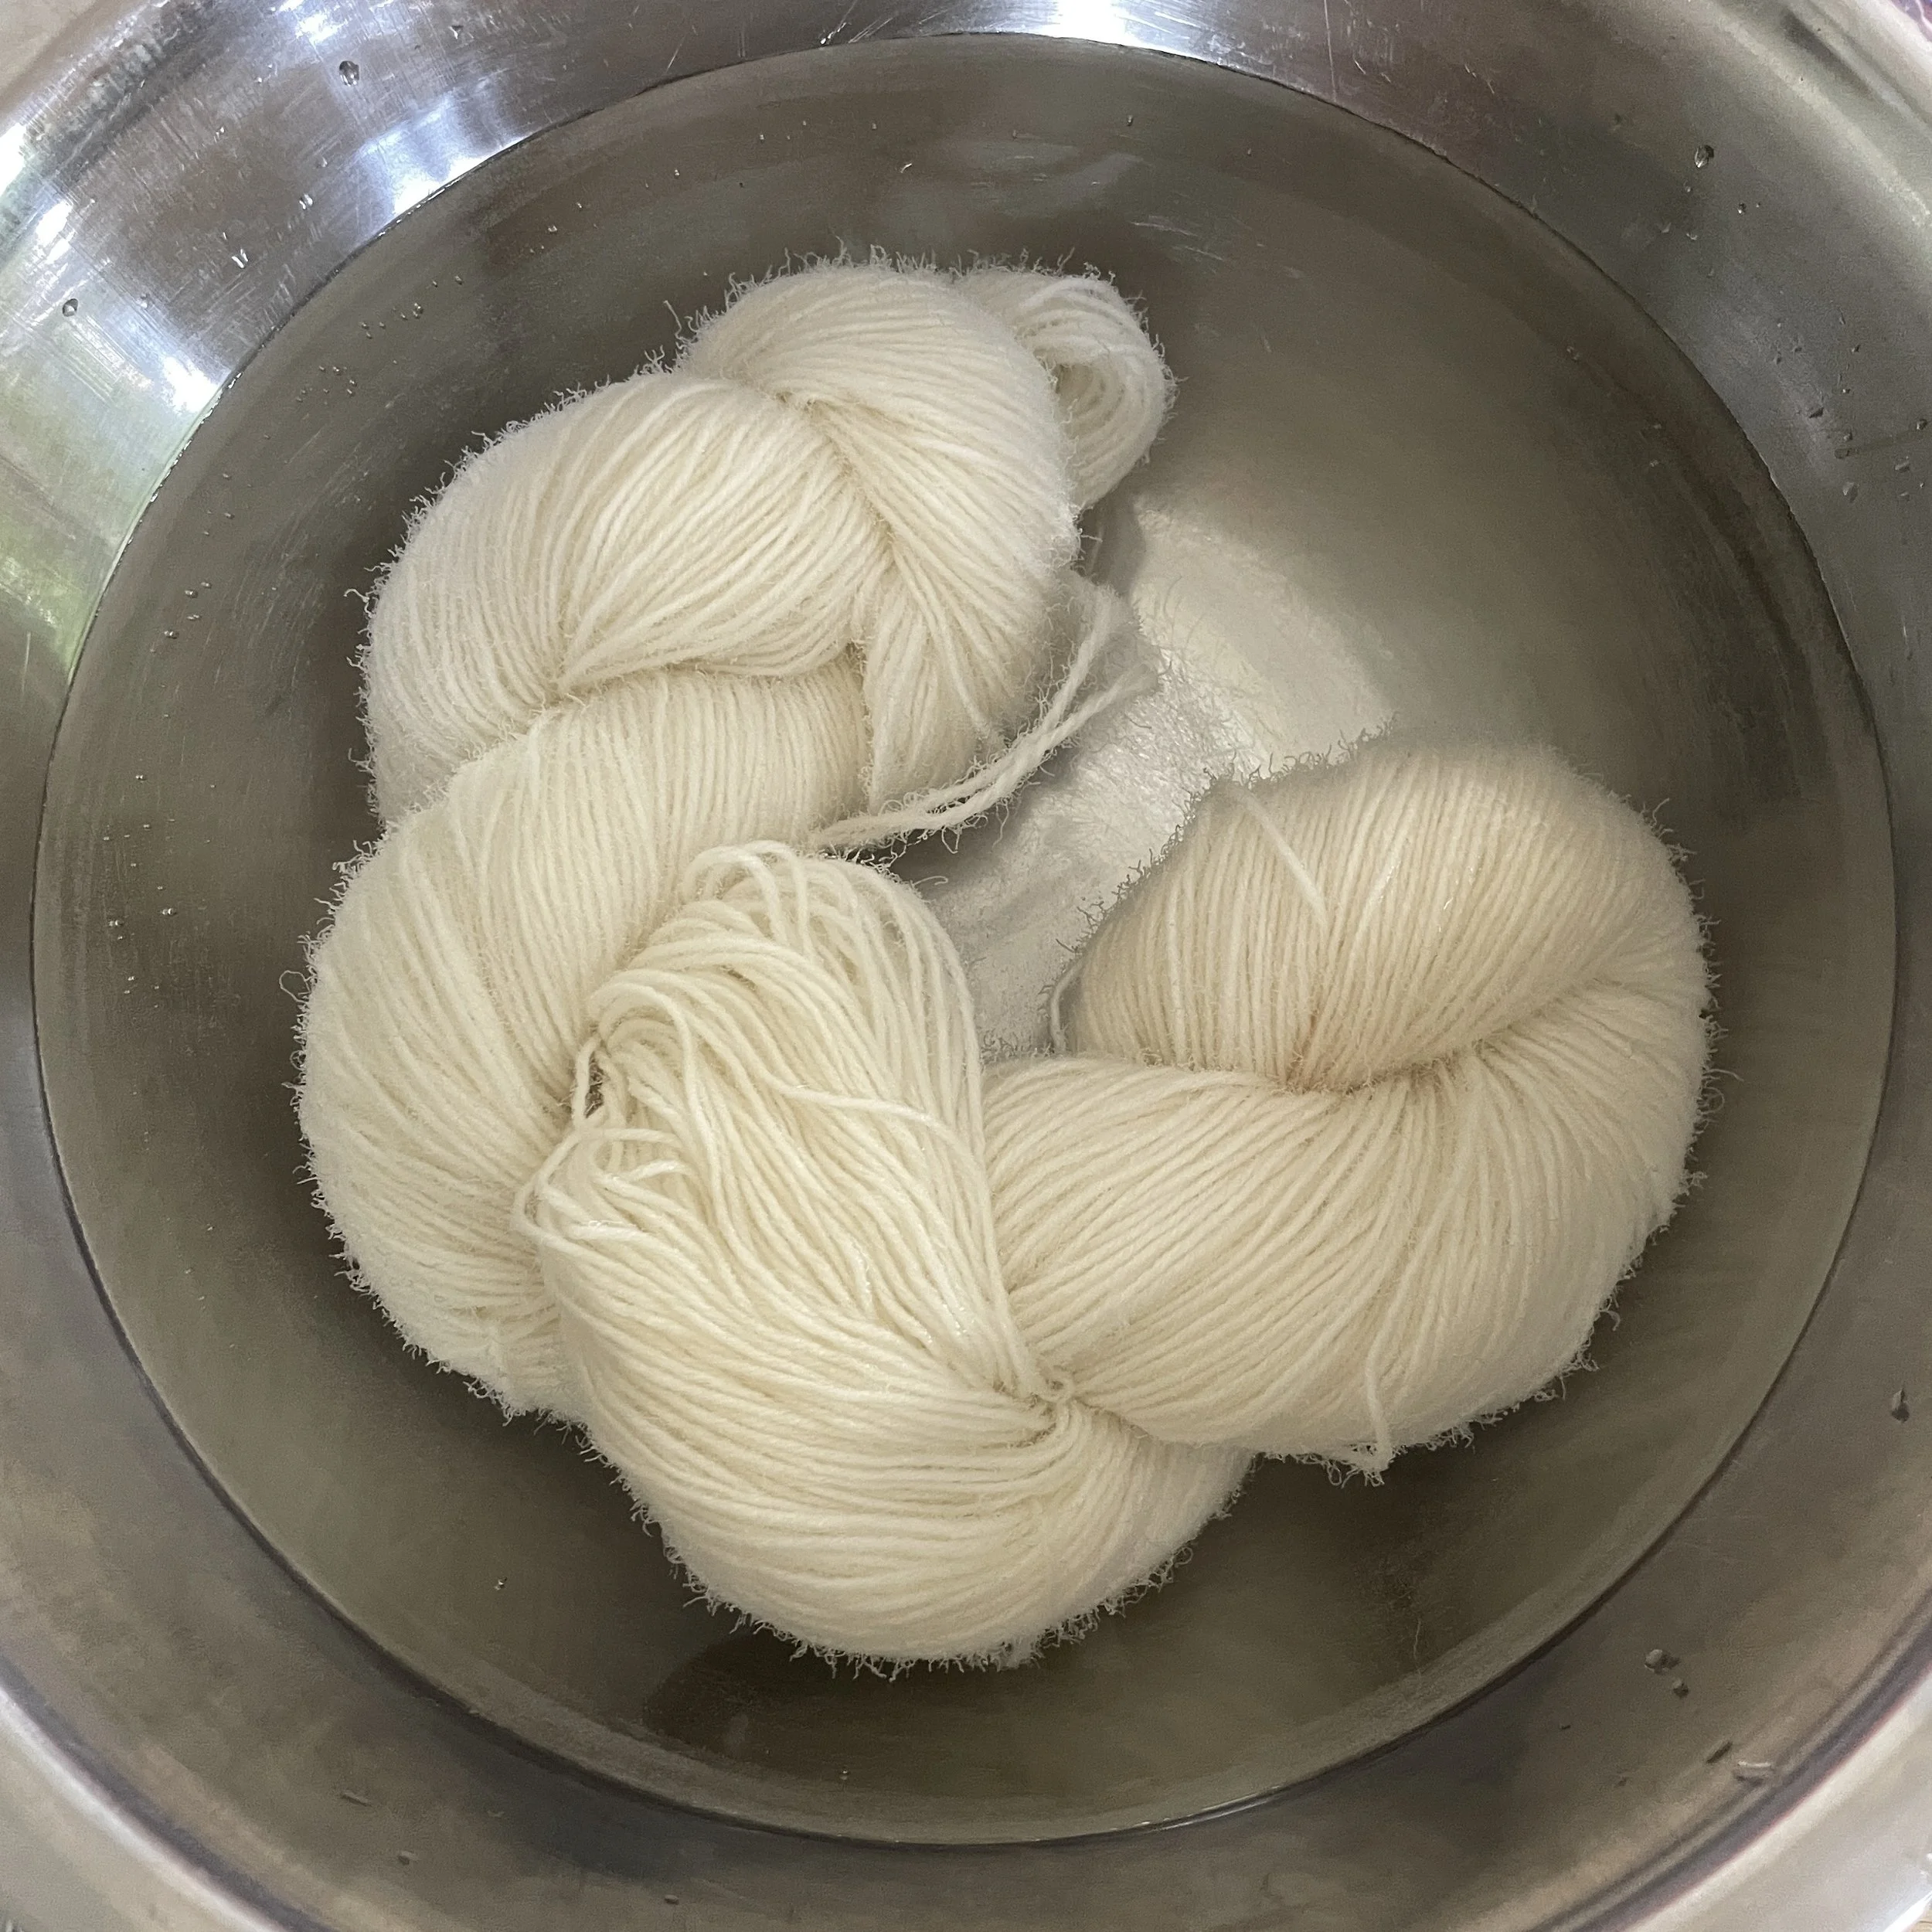
2. Fill your bowl with nice warm water. Take your skein of yarn and gently untwist and lower it into the warm water. You’ll want to lay it into the water carefully so it doesn’t tangle. Allow the yarn to sit in the water for at least 10 minutes. 20 is better. Pour yourself a nice beverage… put on some music… take your time and enjoy the process!
NOTE: Did you read the instructions all the way through? You rebel! I never read them either, but now that the yarn’s soaking you really should read the directions!
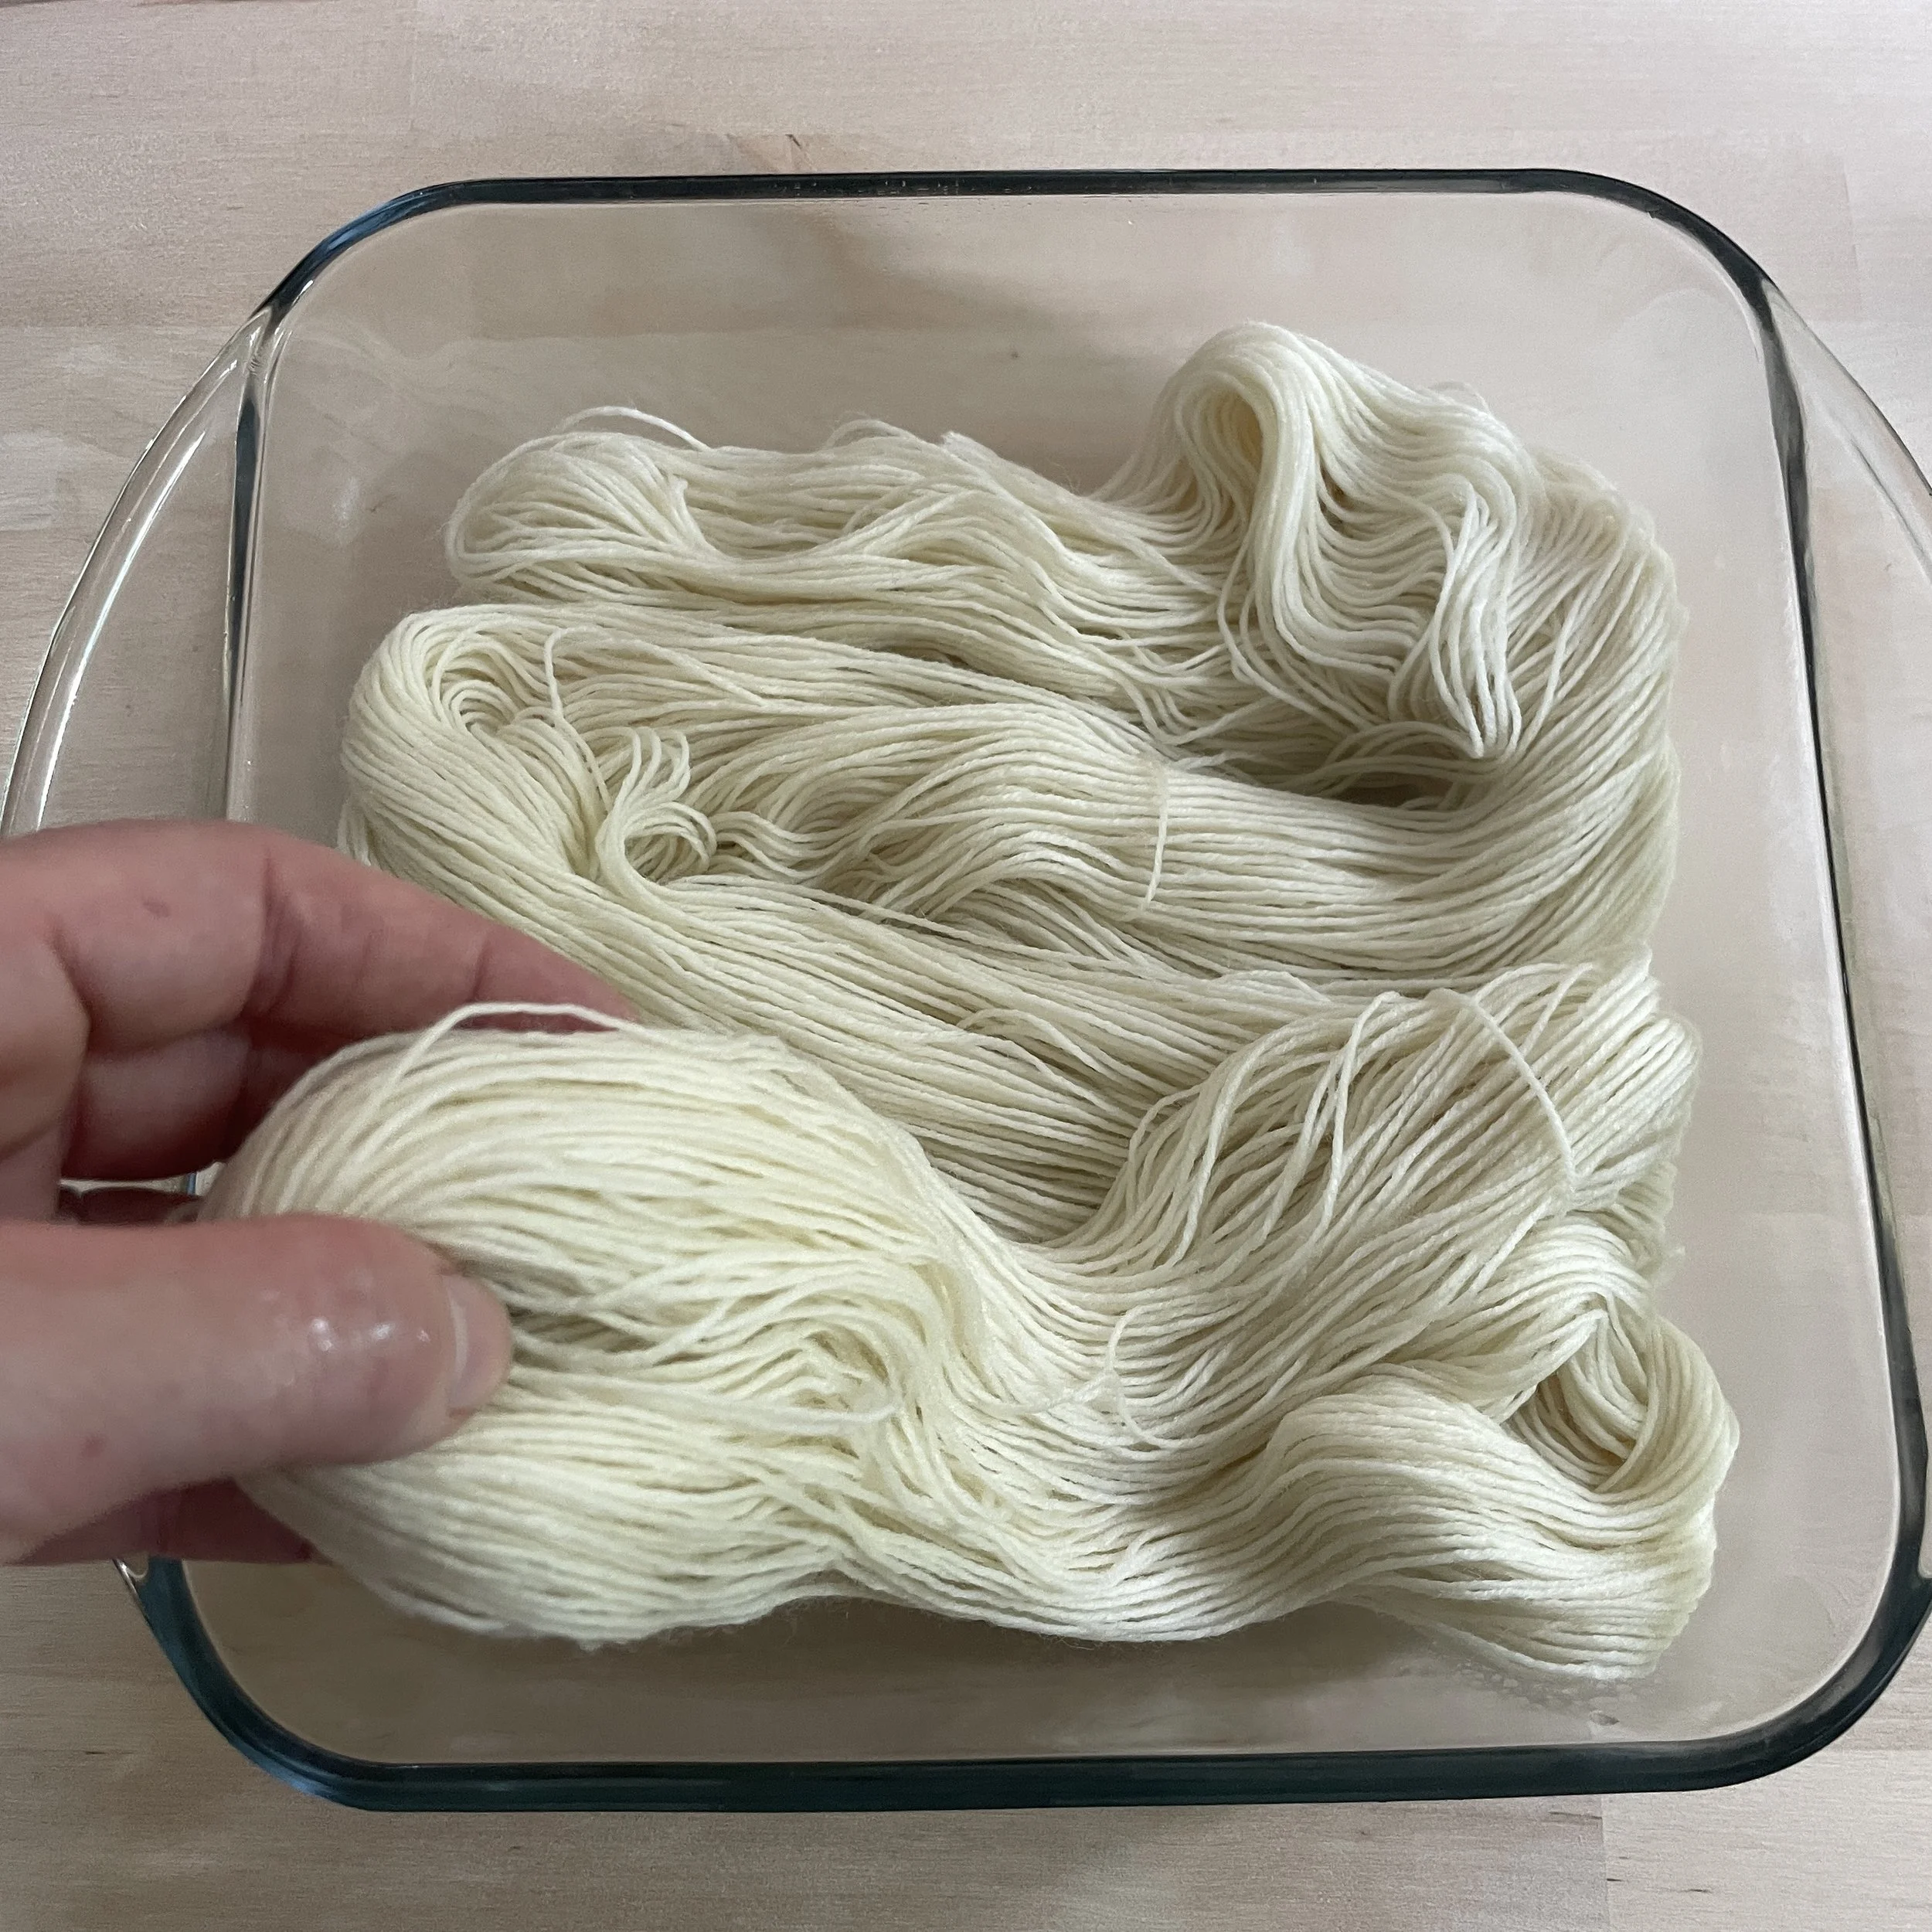
3. Once your yarn is soaked and you’re nice and happy and mellow, pour some water into your cooking pot (or microwave safe dish). Next, lift the skein out of the soak water, and lay it carefully in the pot or dish. The goal is to have as much surface area visible as possible. Add more water as needed so the skeins are just barely covered.
4. Heat the water and yarn carefully until they are hot to the touch. If you’re using a microwave, start with a few seconds at a time. The worst thing that can happen when using a microwave is that you give it too much time and it boils over, trashing the inside of your microwave!
5. Once the yarn and water are nice and hot, turn your attention to the first dye packet. Shake the packet like a Polaroid picture! That will get the dye and citric acid mixed together. Next, carefully rip the packet open, and remove the desiccant pack.
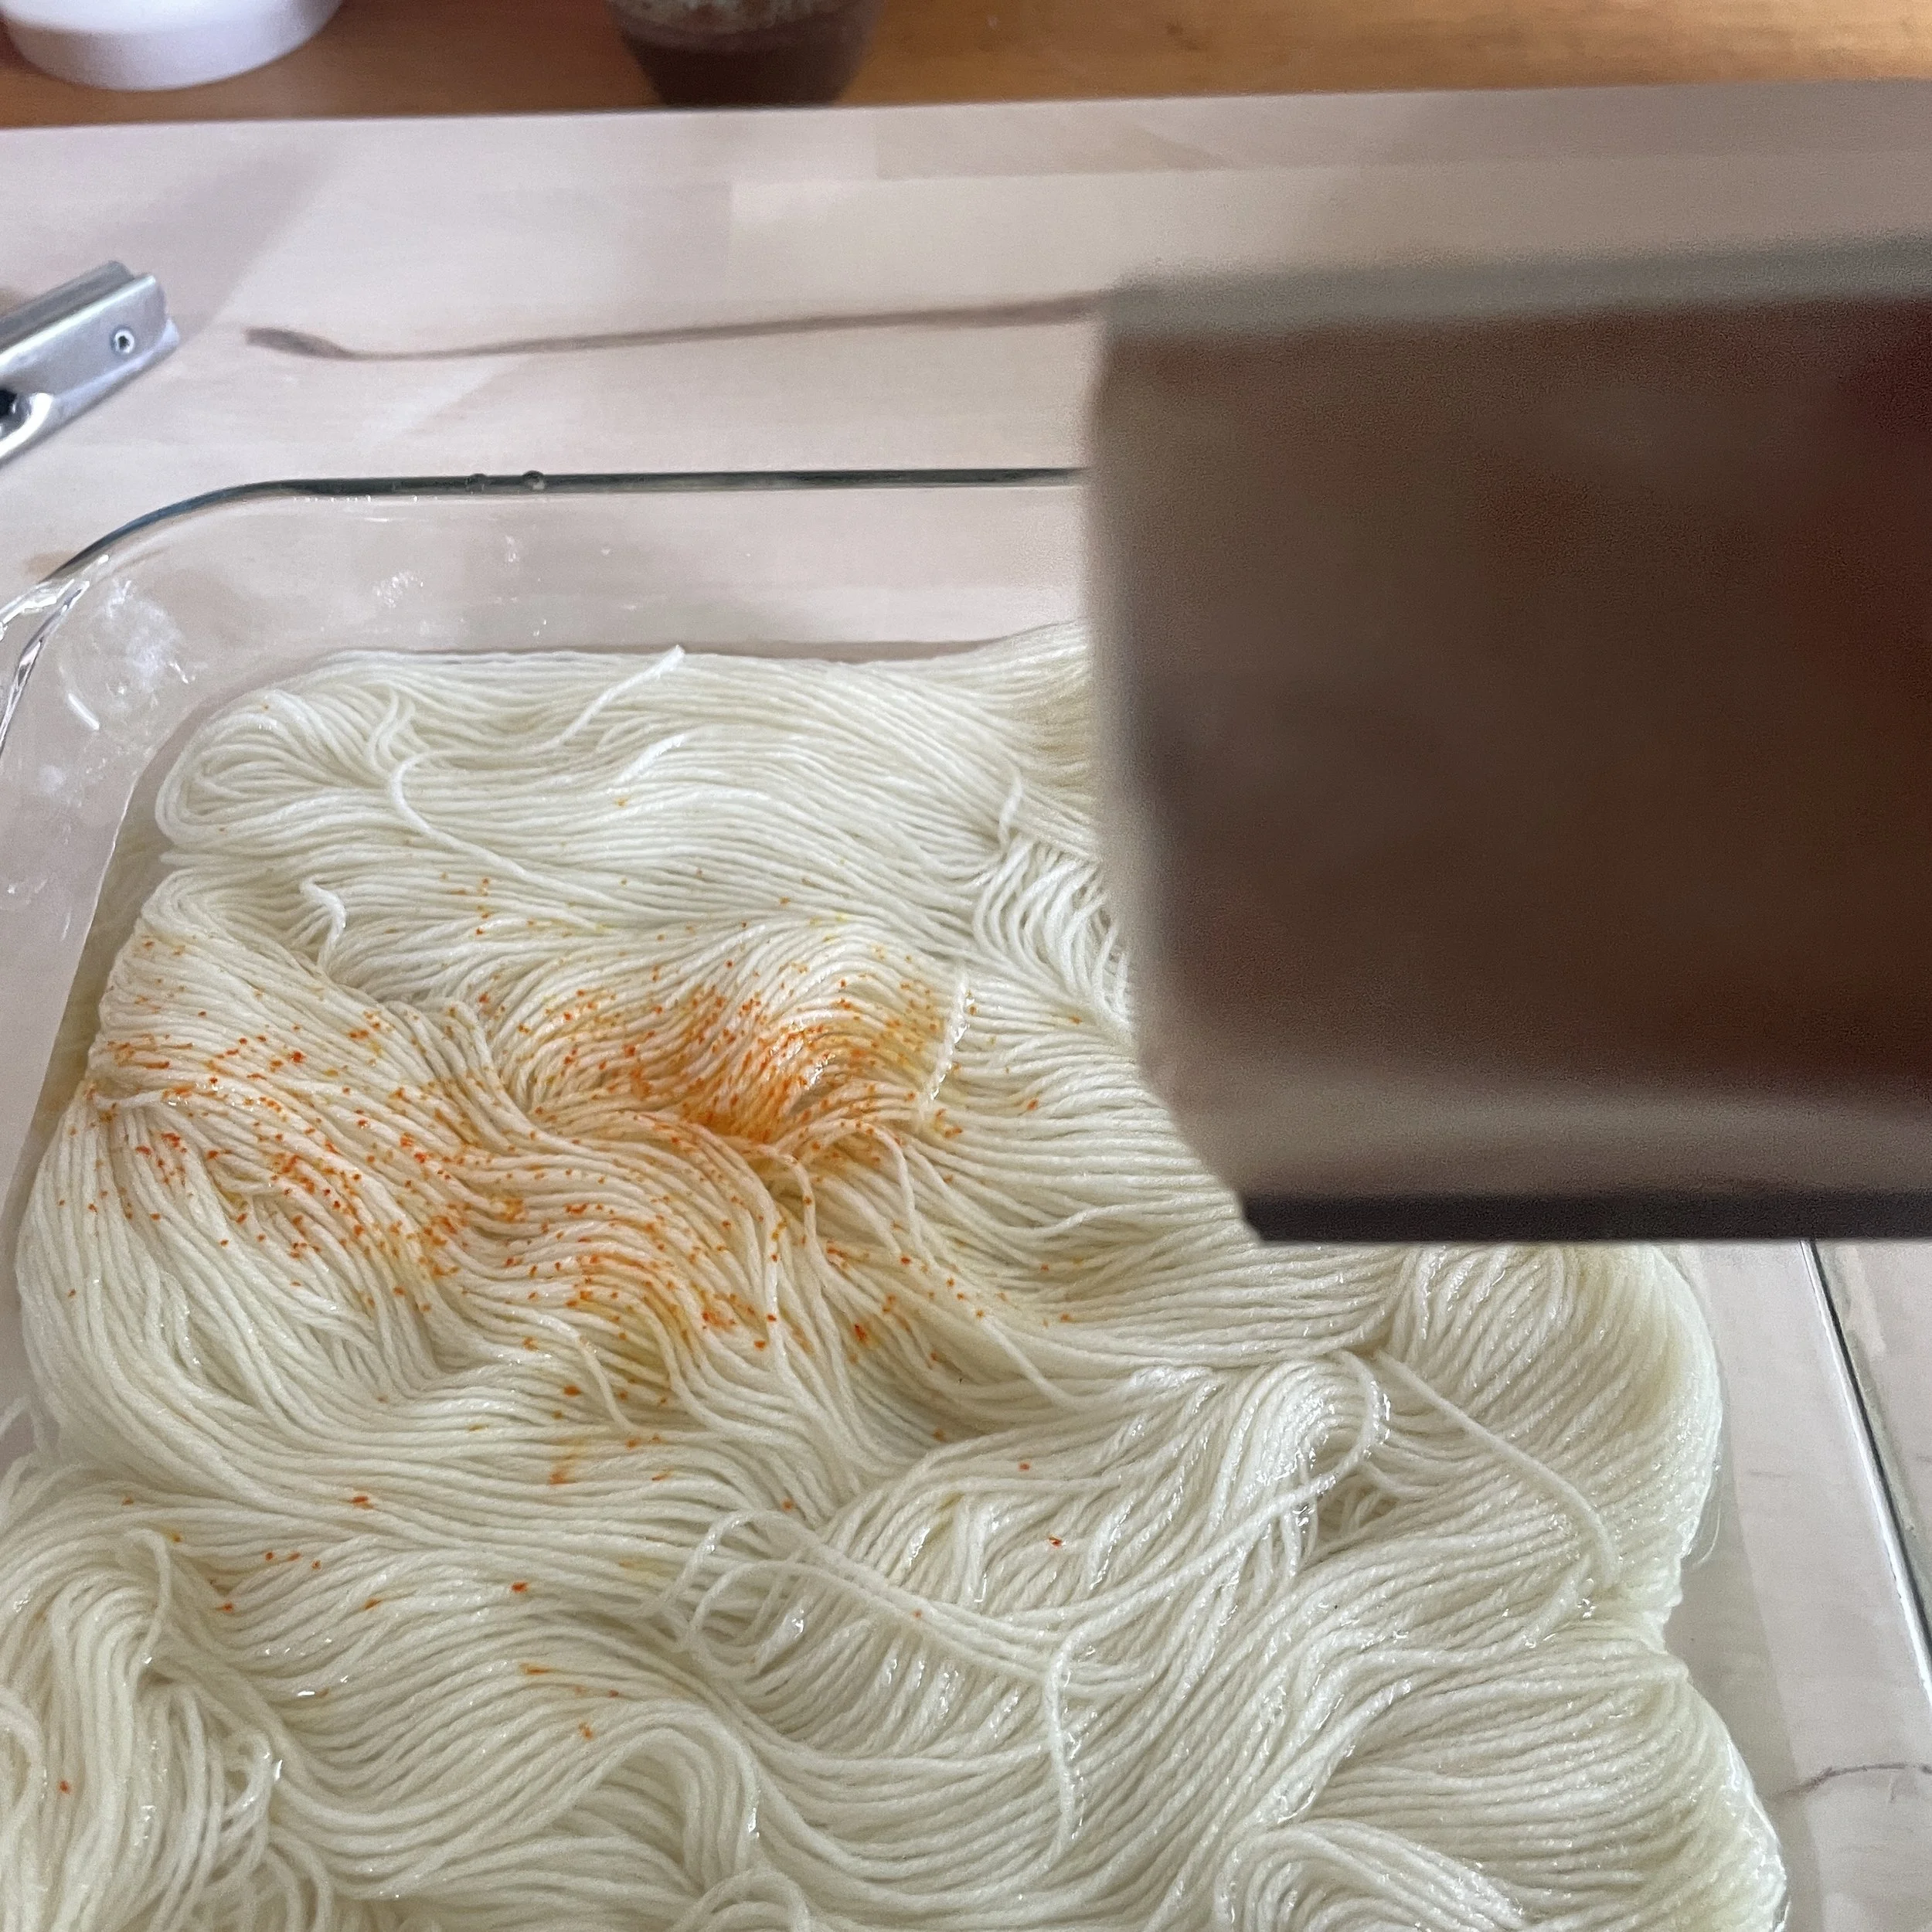
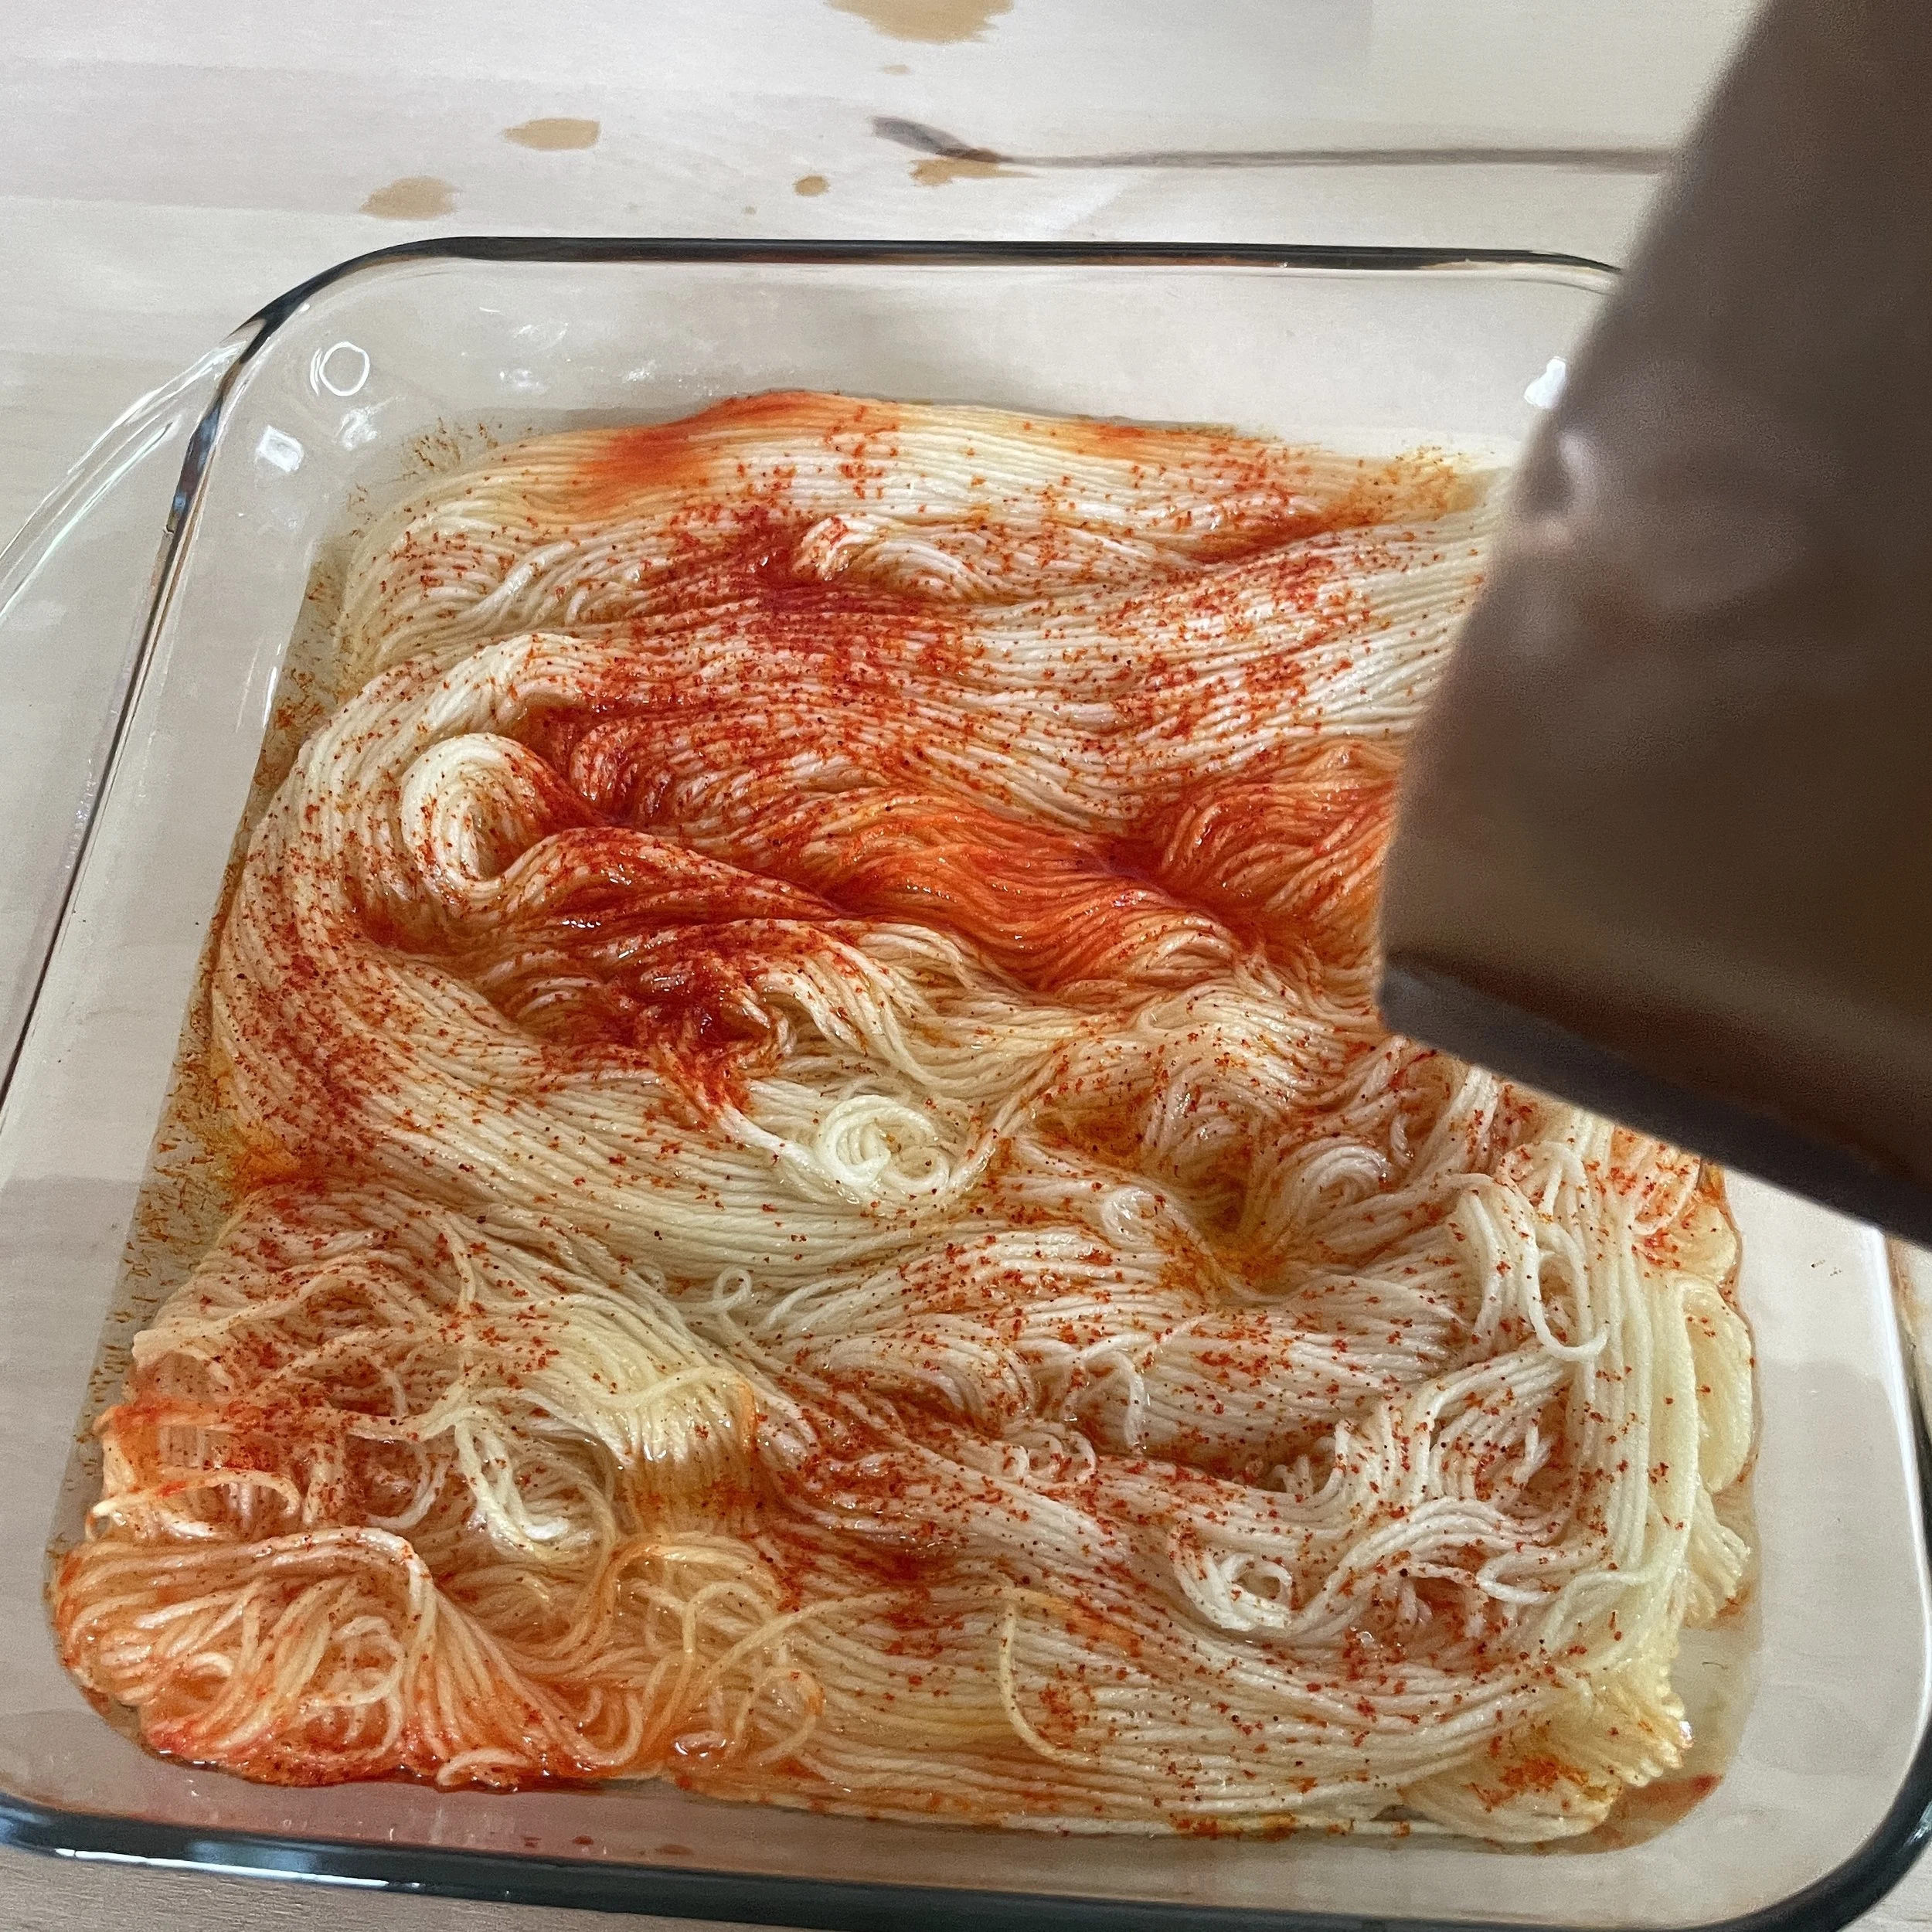
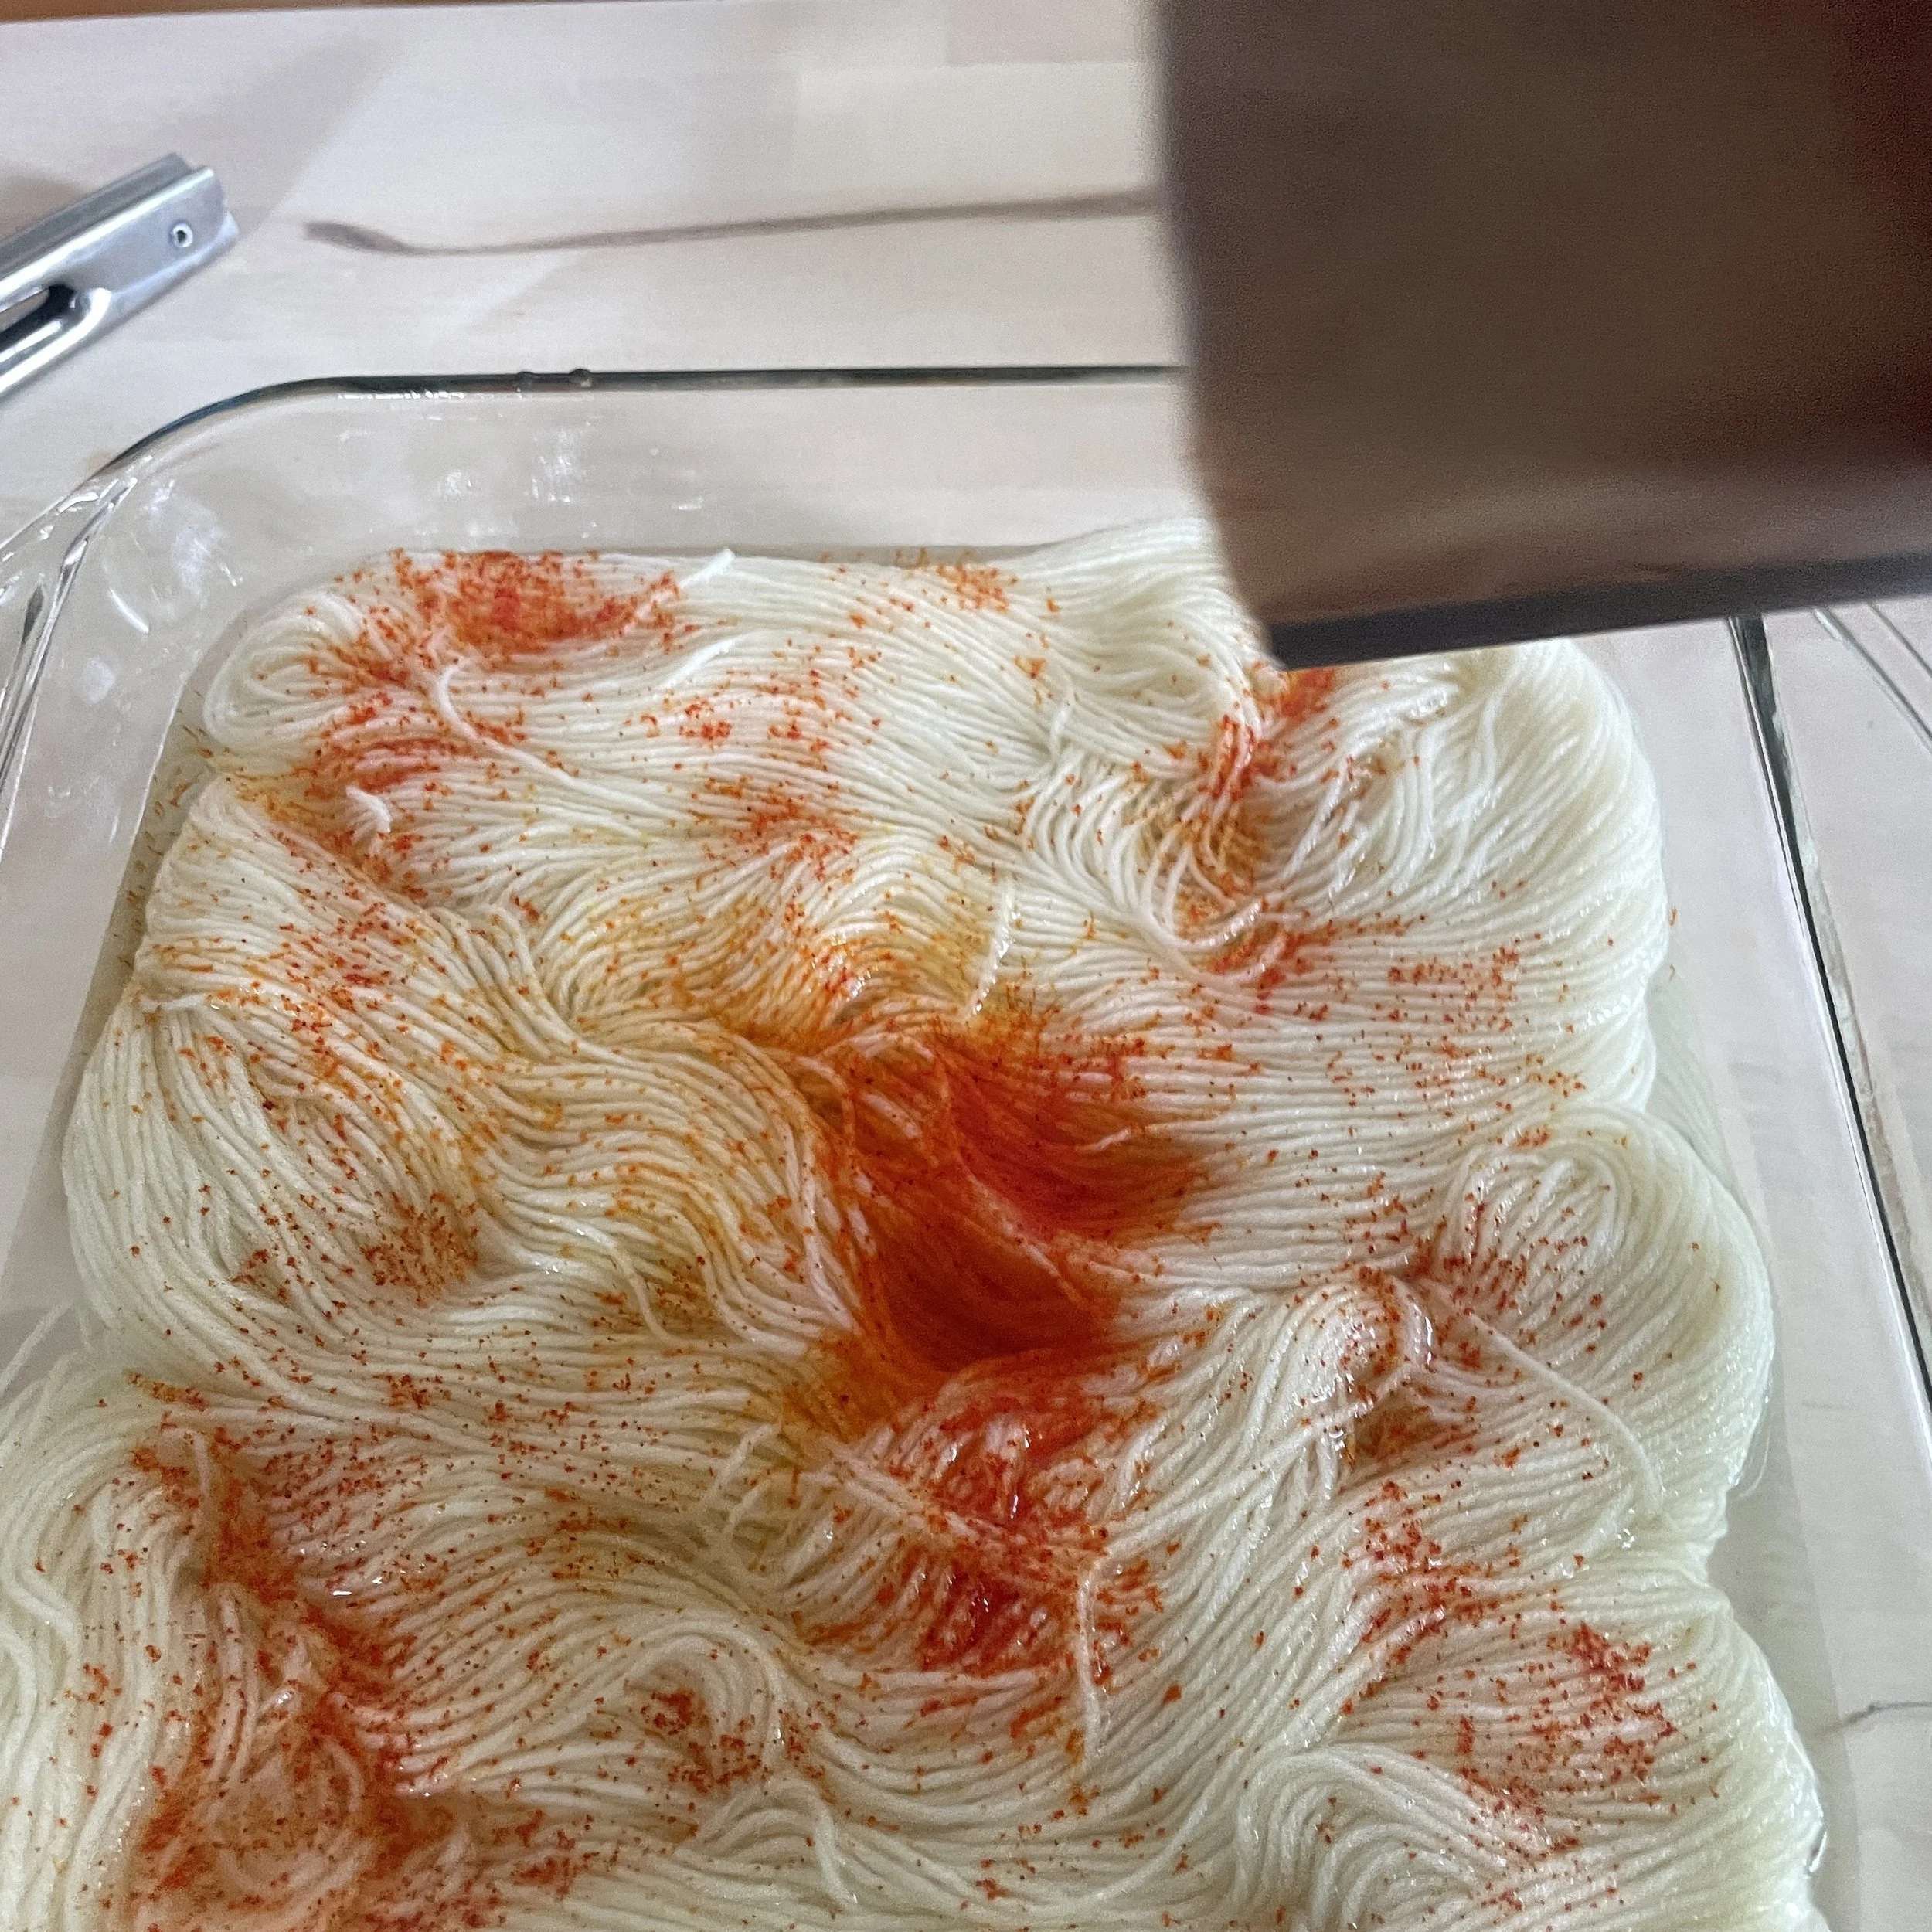
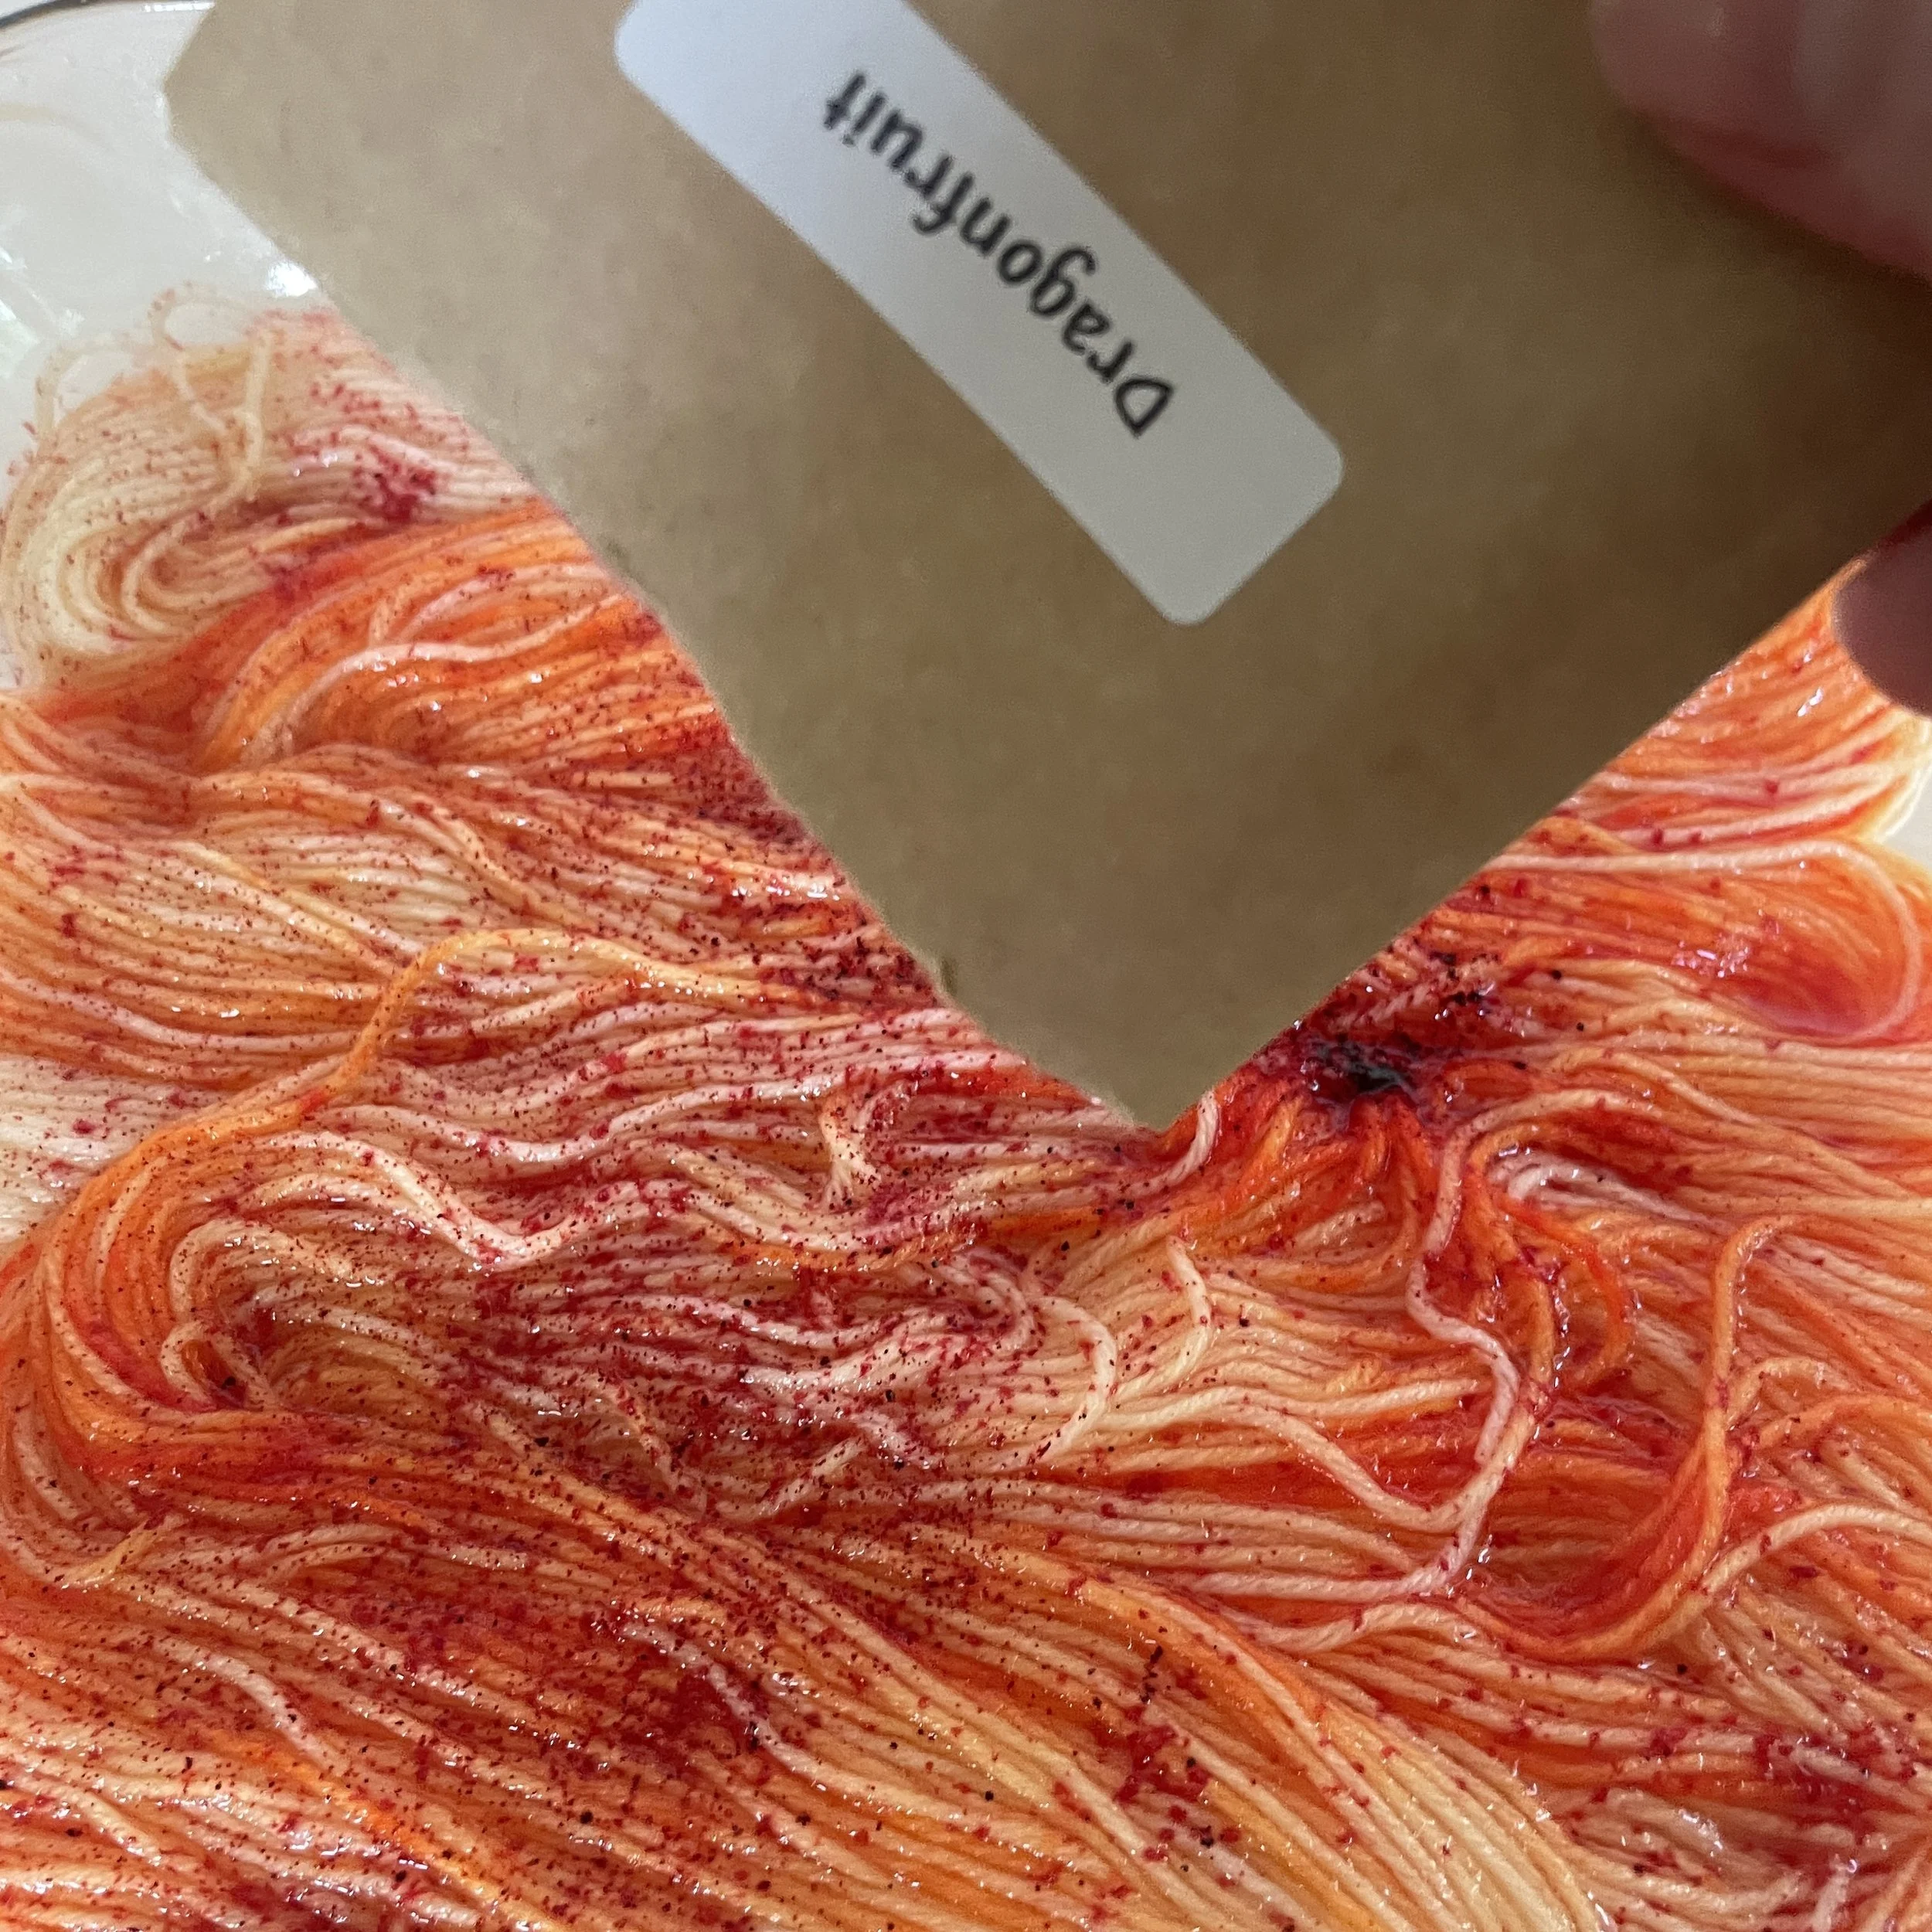
6. Very slowly and carefully sprinkle the powder onto the yarn, tapping the packet with one hand to distribute it slowly. Use no more than half the powder. Less is more with speckles! You can always add more later! Do not agitate the water. Carefully heat again!
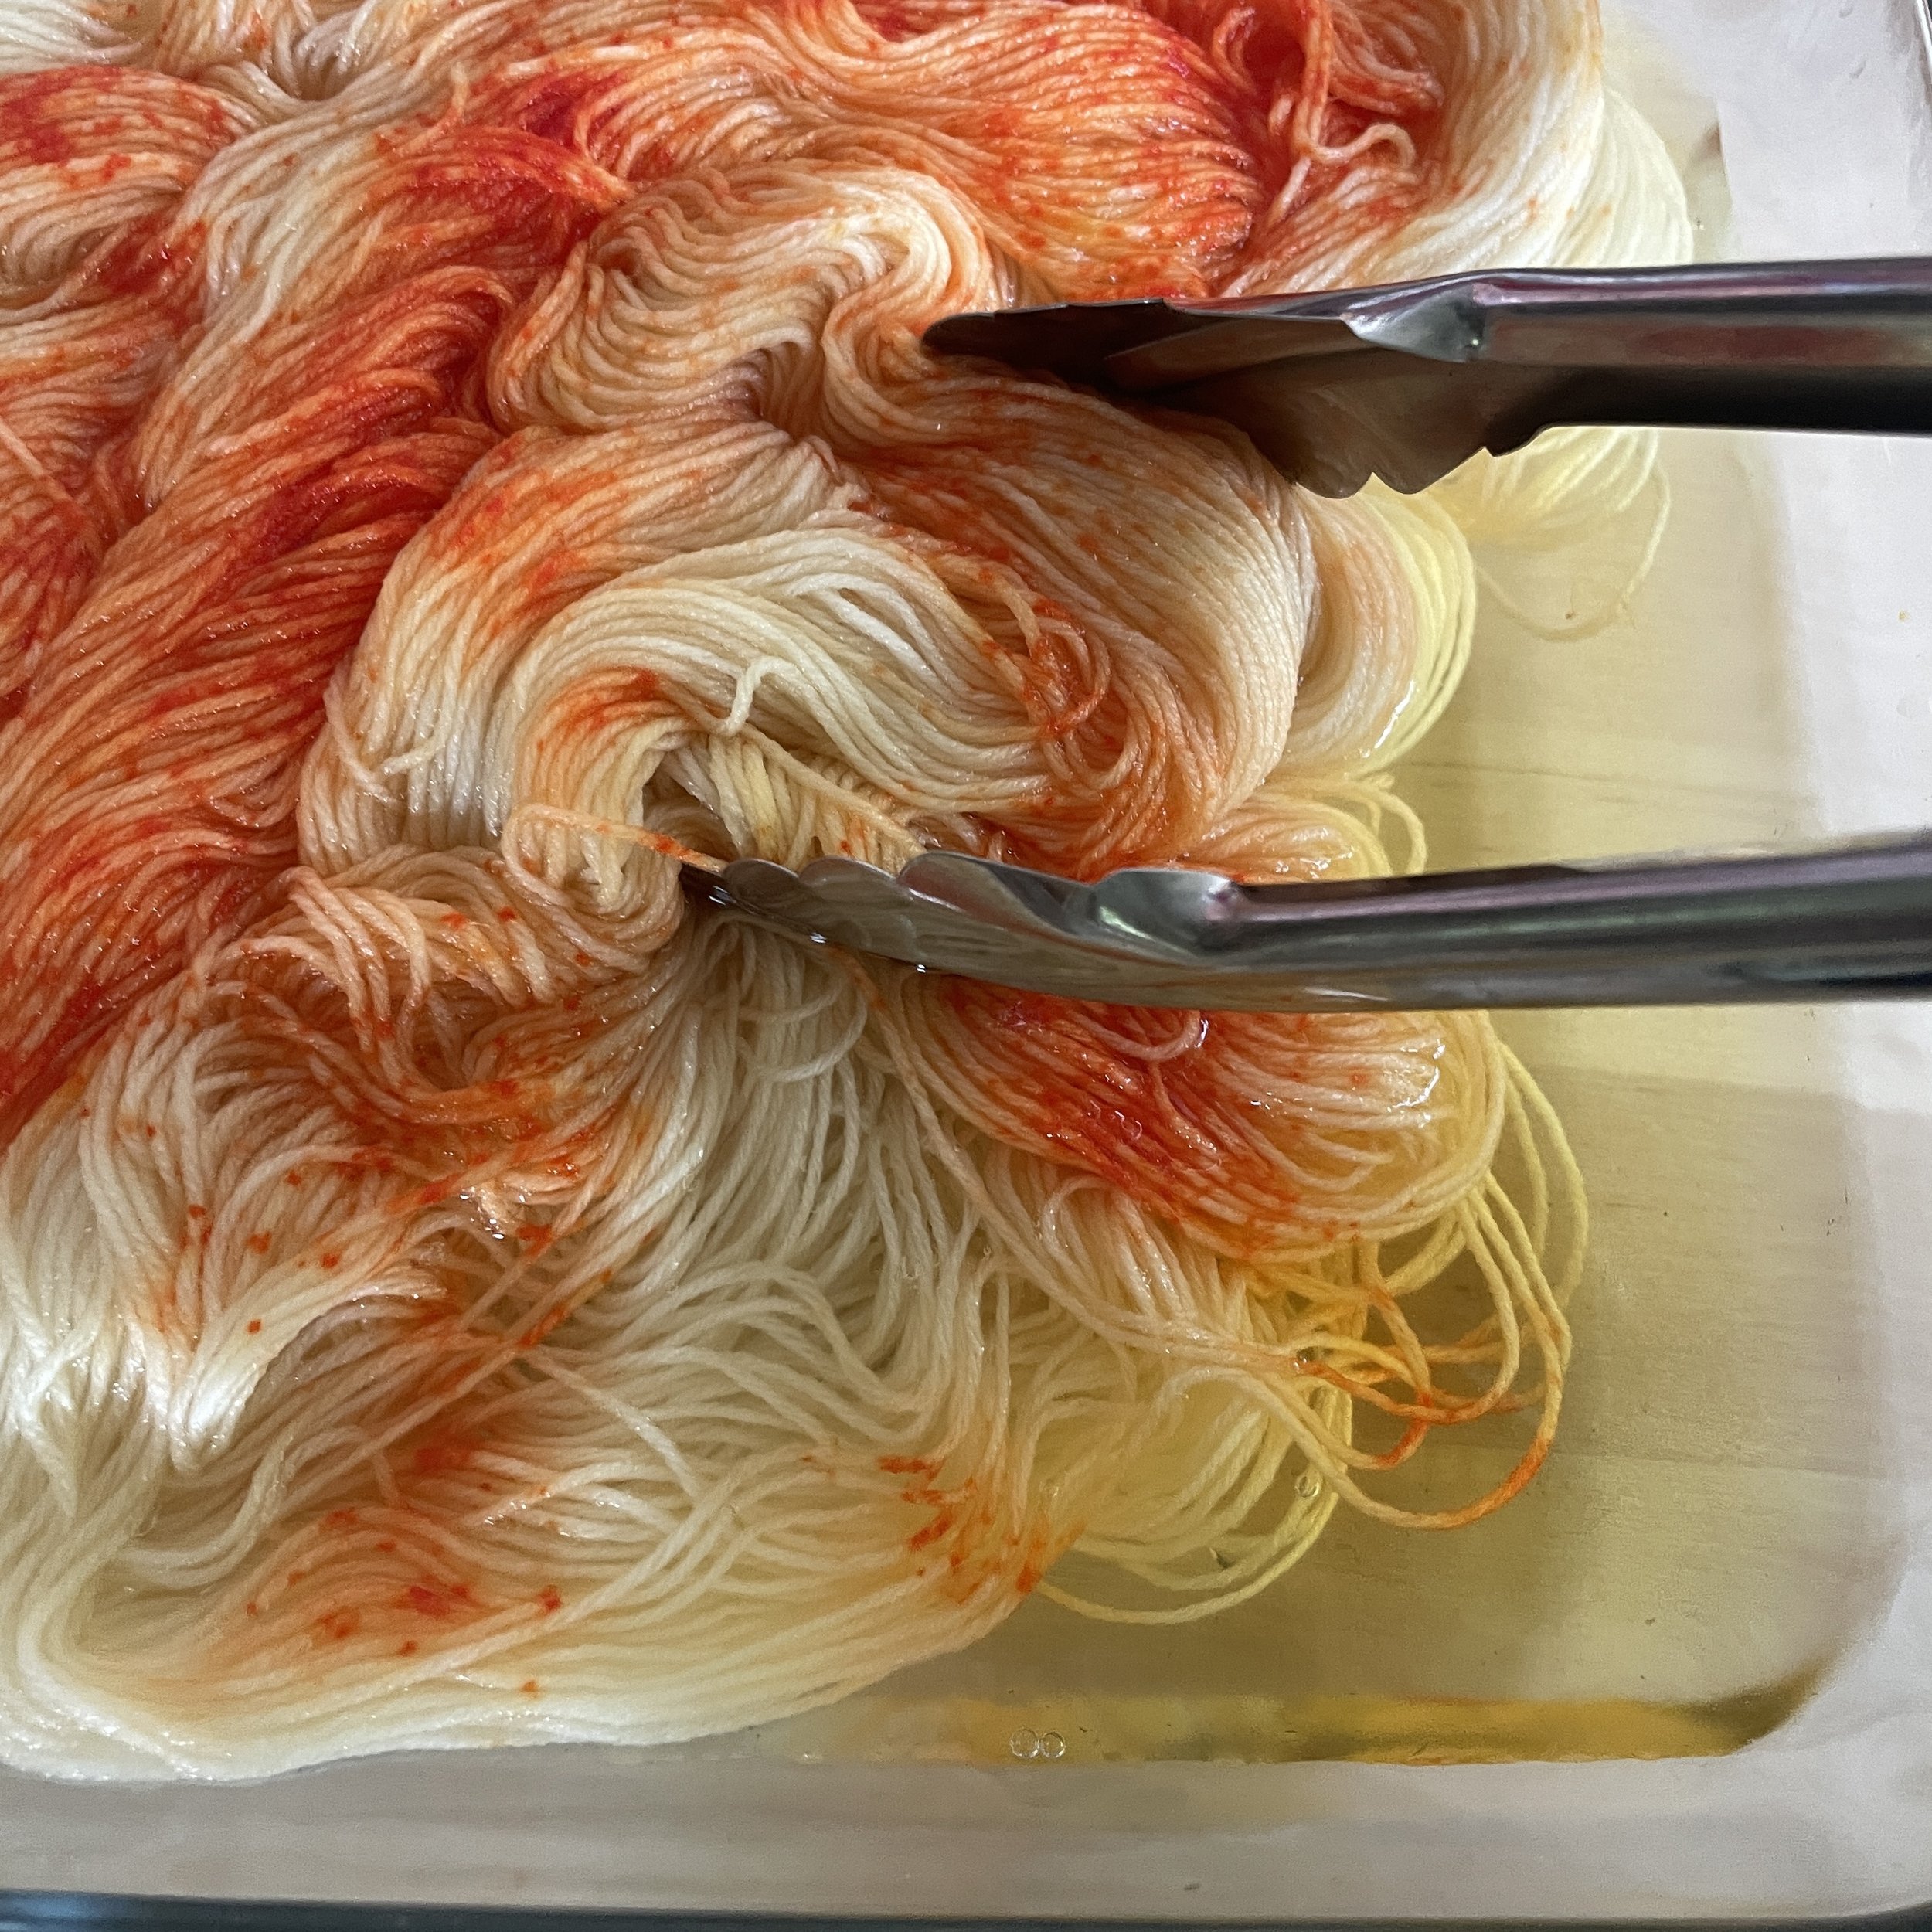
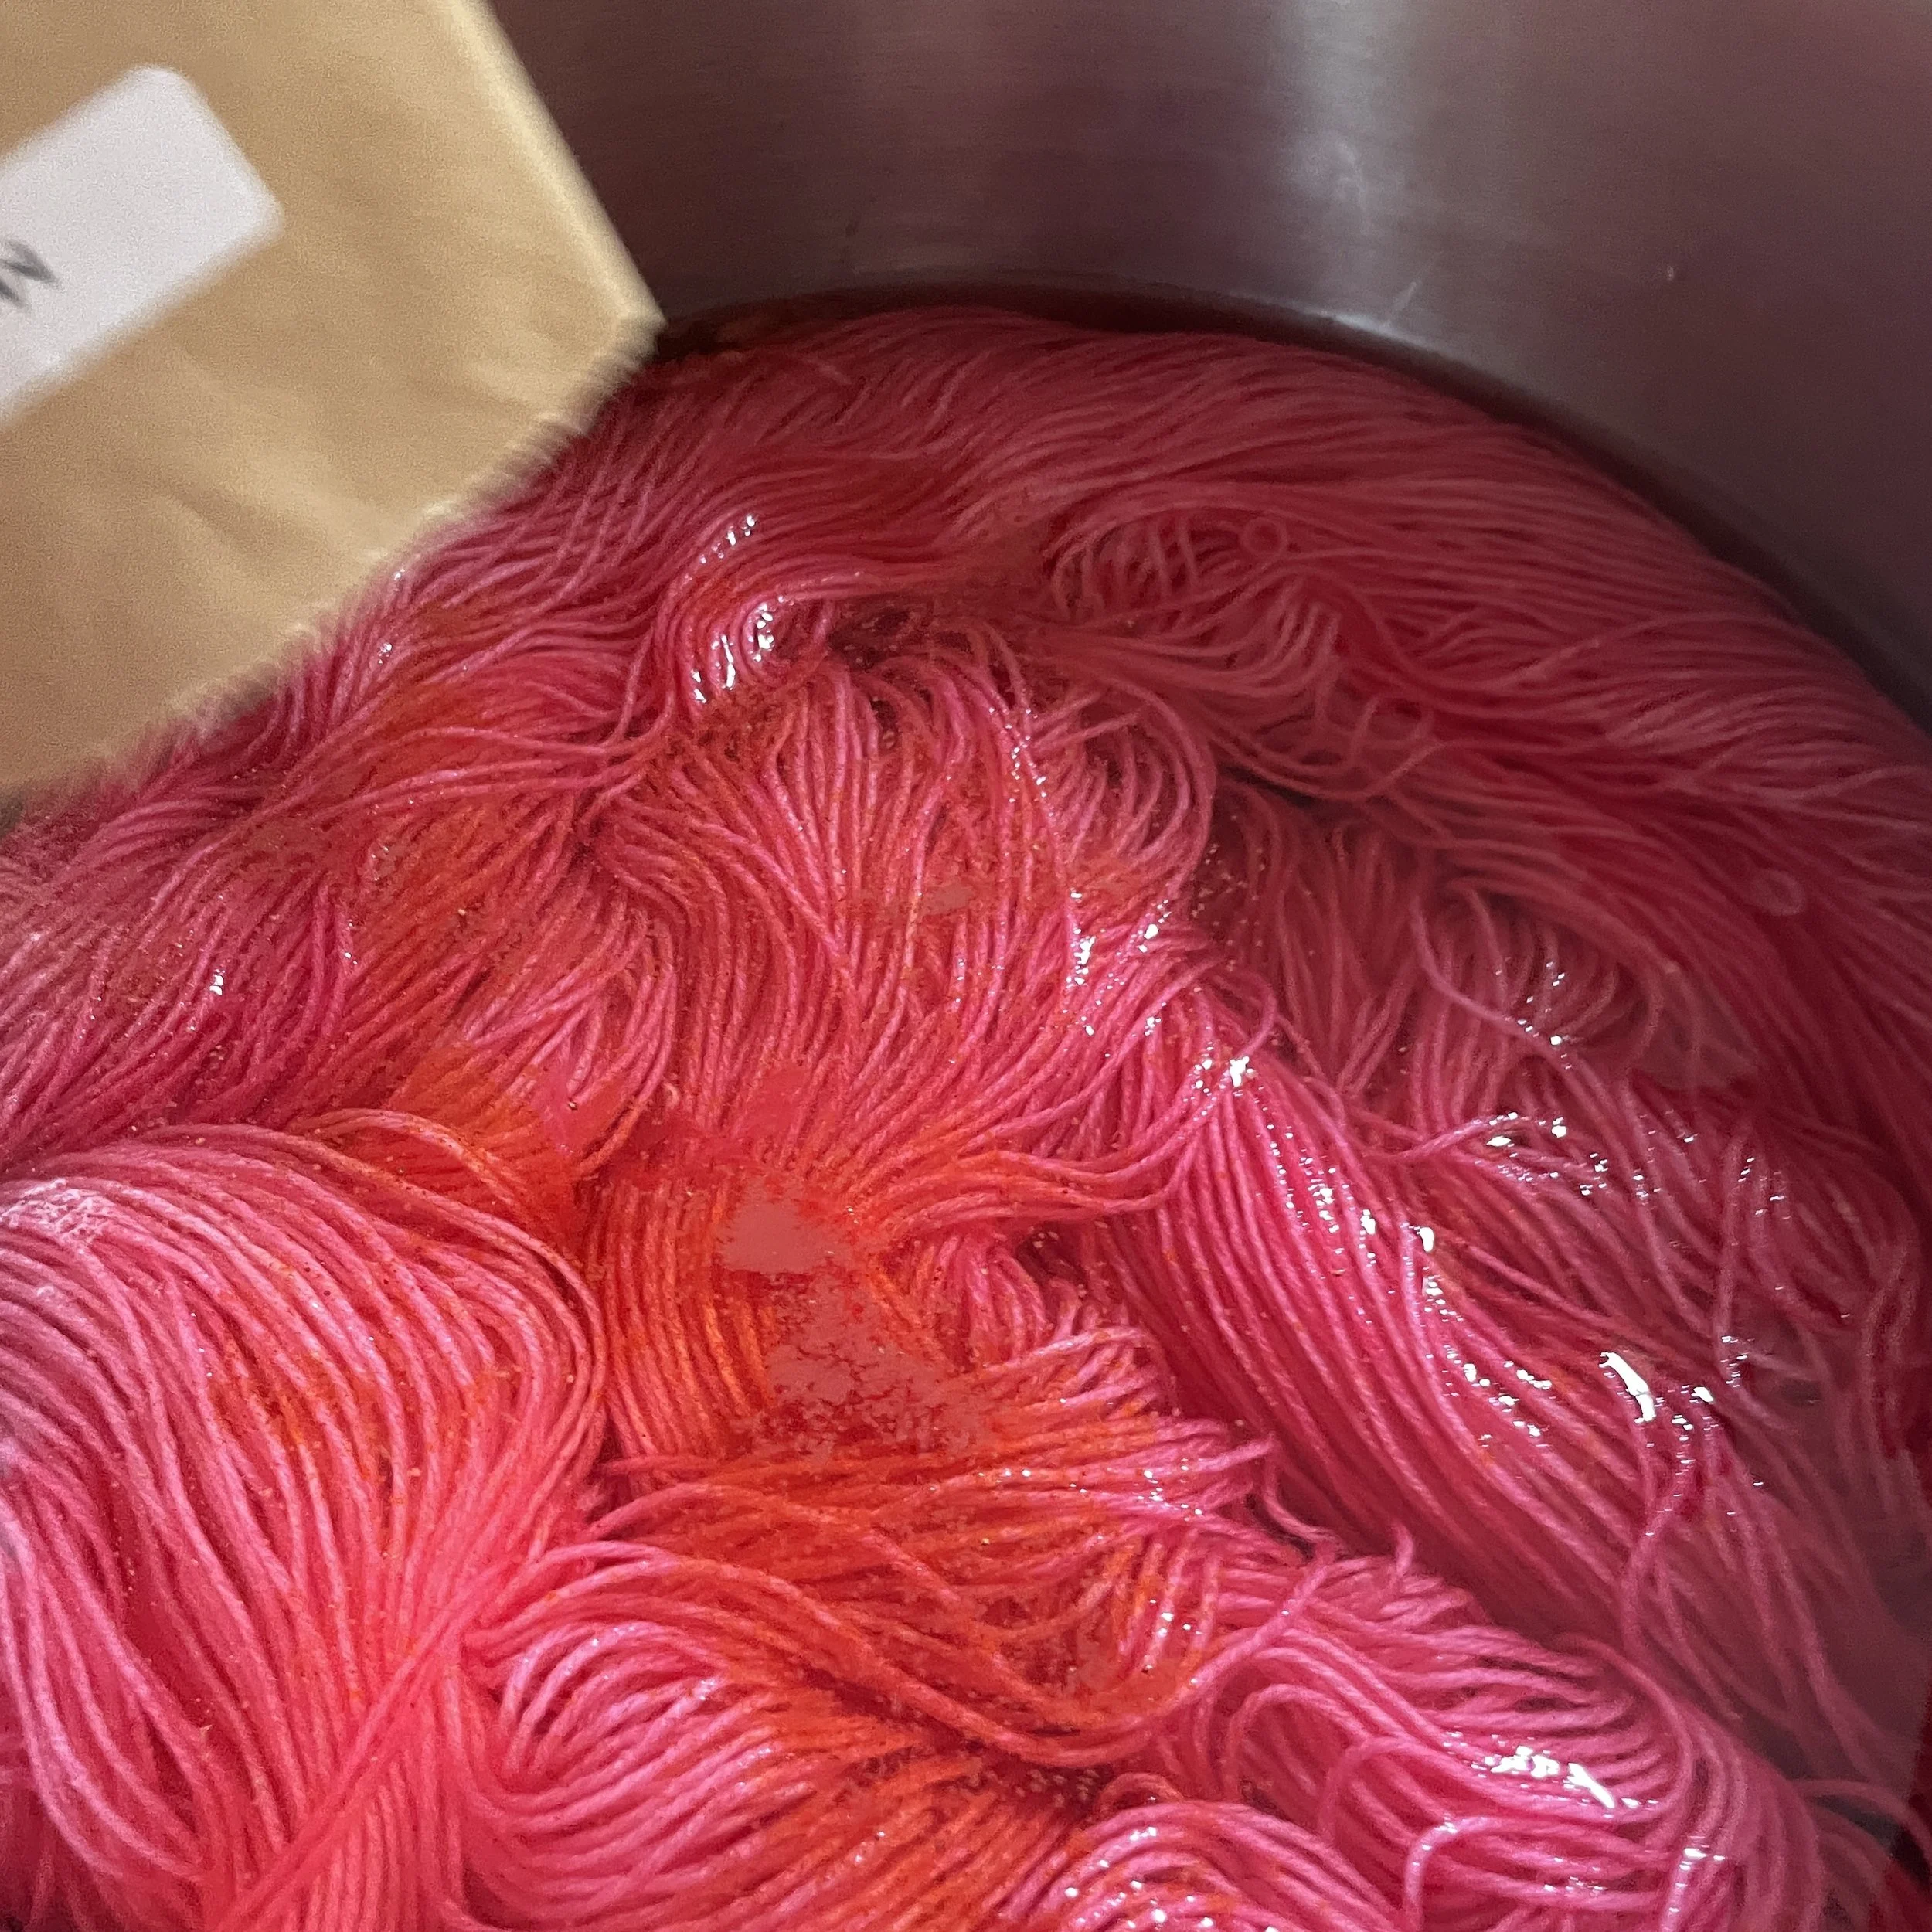
7. Bring the yarn to a simmer, and cook until the dye bath is clear (or mostly clear). Allow to cool in place.
8. Once the yarn is cool enough that you can touch it, go ahead and flip the skeins over. Do they need more dye? Go ahead and repeat steps 6-7 with the rest of the contents of the packet. Poke your skein a bit to make sure you don’t have any extra dye that hasn’t attached to the yarn. You can use the second packet too, or save to combine with another kit! *
9. Rinse your skein (I usually pull it out of the dye bath and put it back in the soak water to rinse). Squeeze out excess water, then hang to dry!
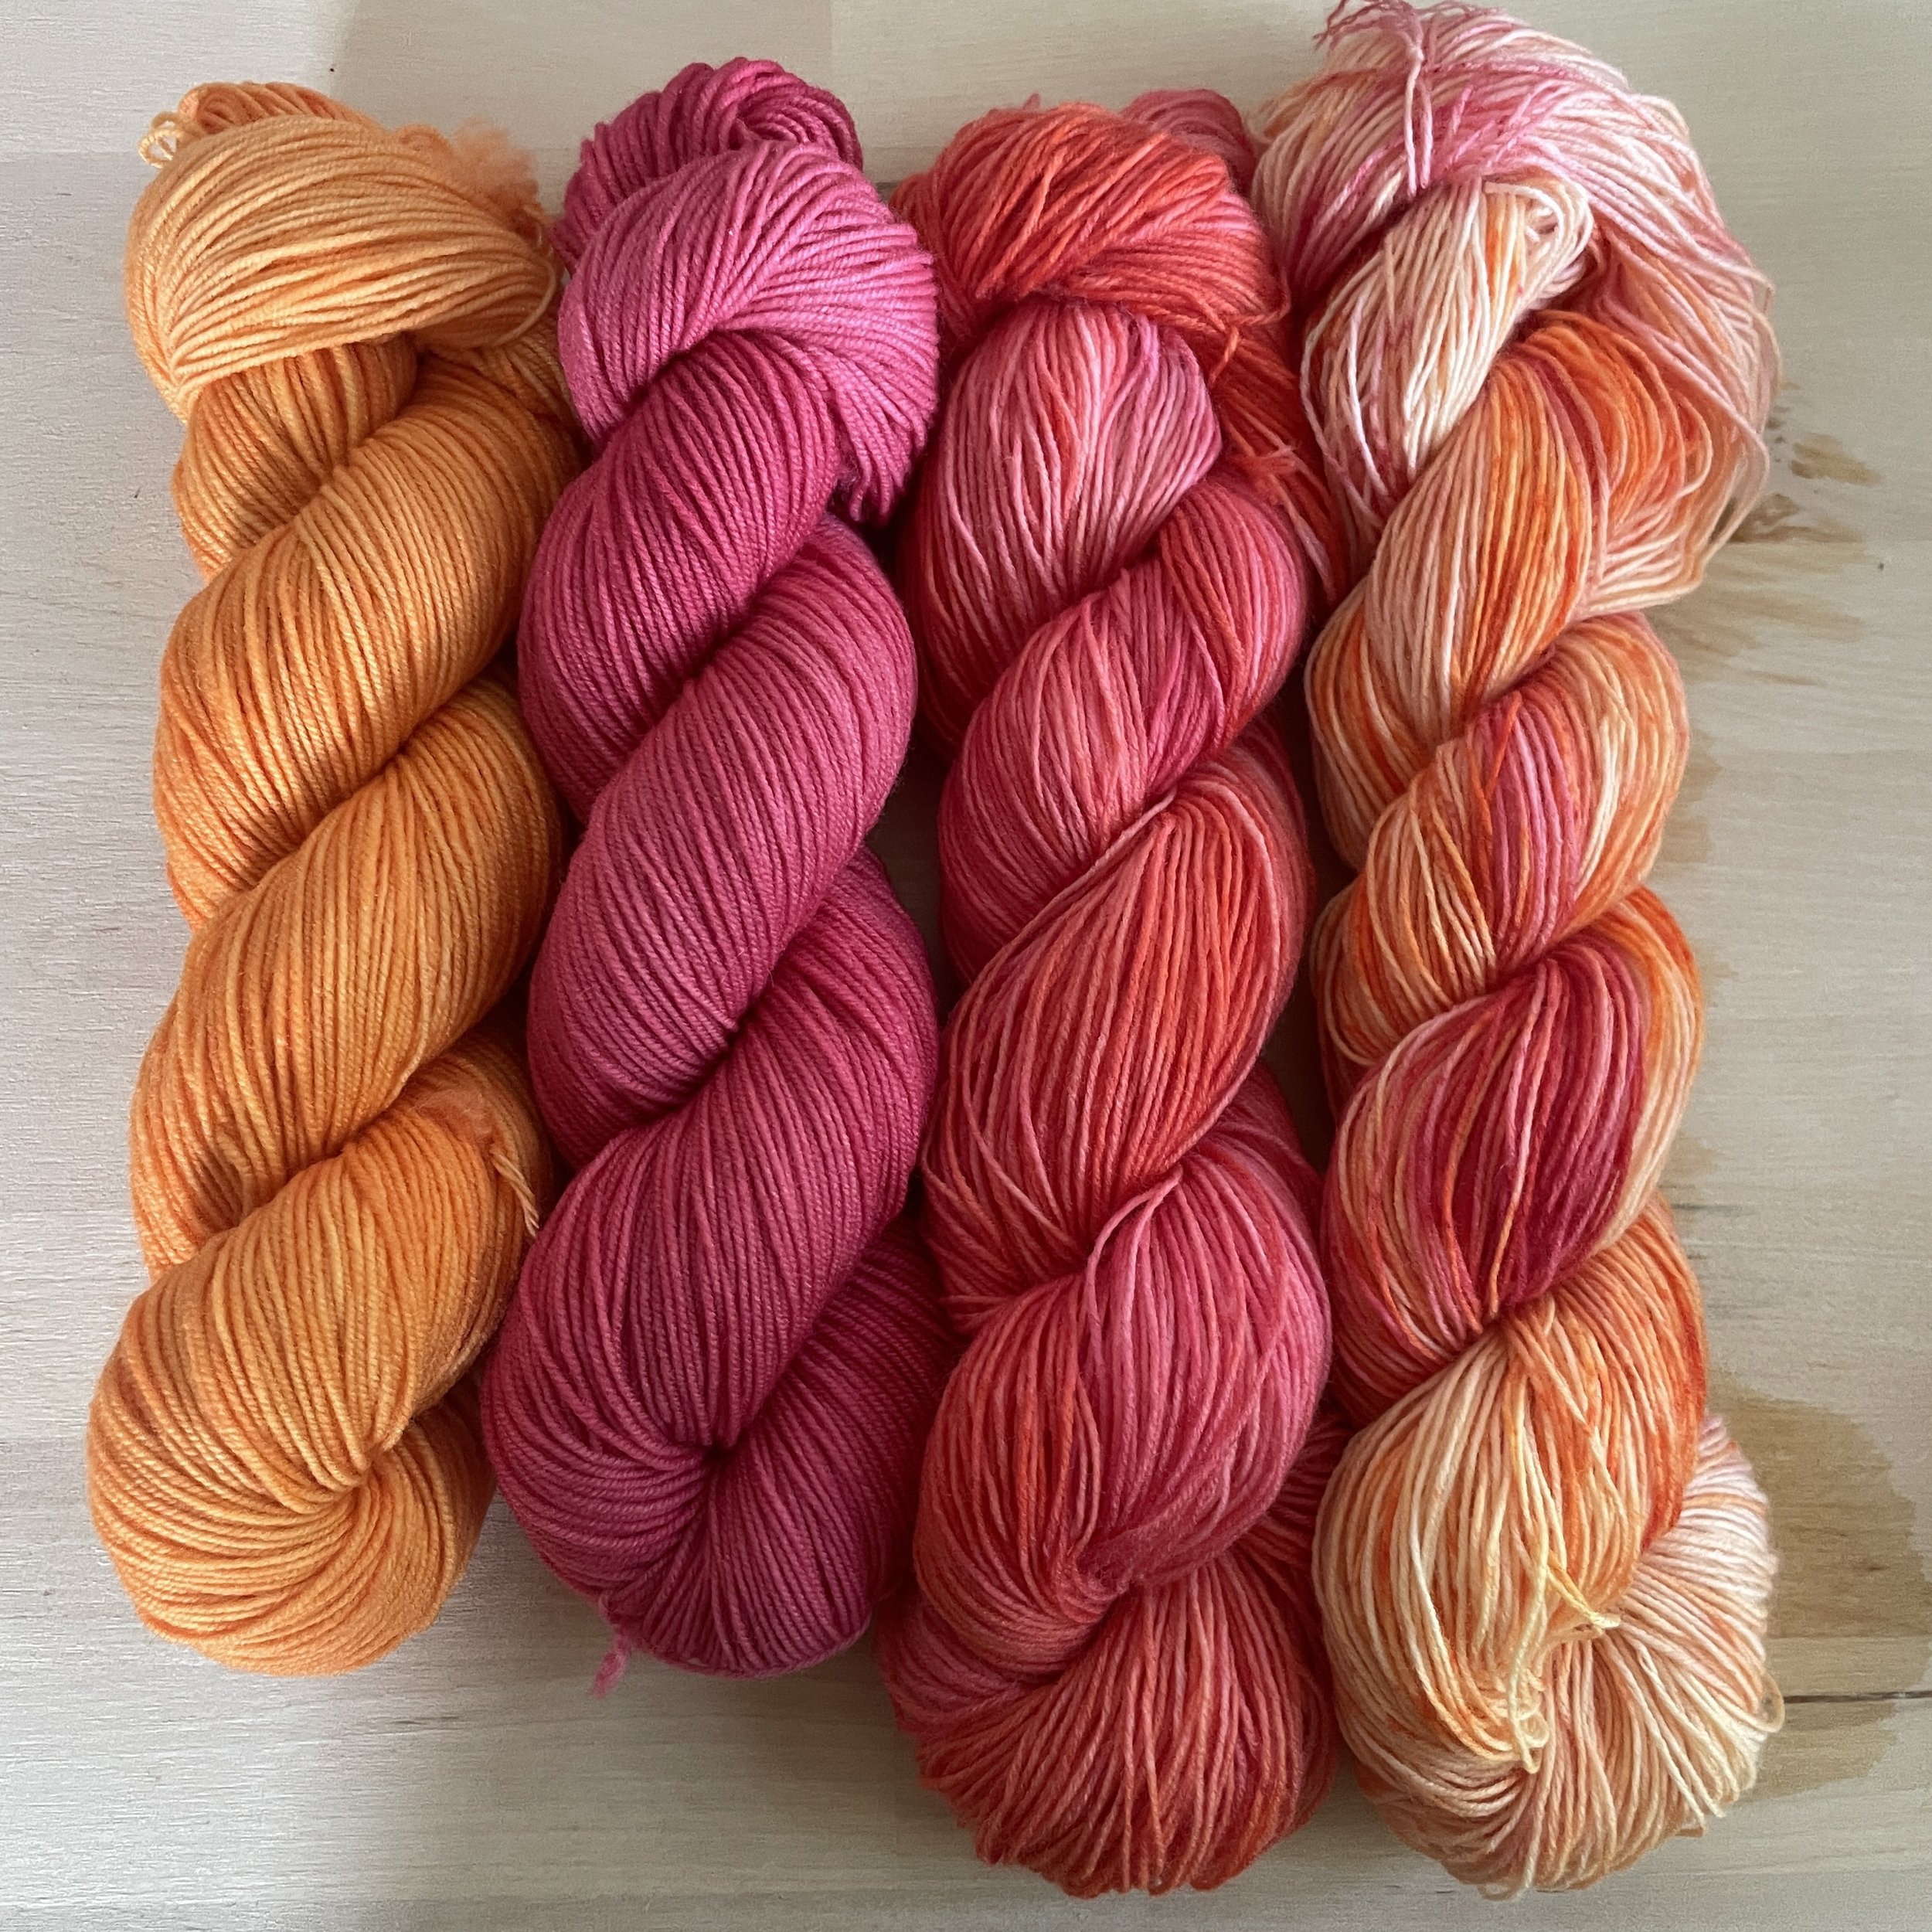
*We sell un-dyed yarn as well as single packets. Mix and match and have fun! You can vary the amount of water in your dish or kettle to achieve varying degrees of speckles (less water = more defined speckles).


