TO ACHIEVE A SEMISOLID LOOK:
First, choose your cooking method. Will you be using a stove or microwave? The instructions are essentially the same for both. I’ll add special notes for microwave users as needed.
Things you’ll need:
A pair of tongs, a spoon, or some other utensil to lift hot yarn out of the dye bath.
A bowl to soak your yarn in.
If you’re using the microwave, you’ll need a microwave safe dish. If you’re using the stove-top, you’ll need a pot.
Finally, it’s always a good idea to have an old towel to protect your work surface, and an old rag to wipe up any dye. THE DYE WILL STAIN MOST SURFACES!
NOTE: Please read the instructions all the way through before starting!
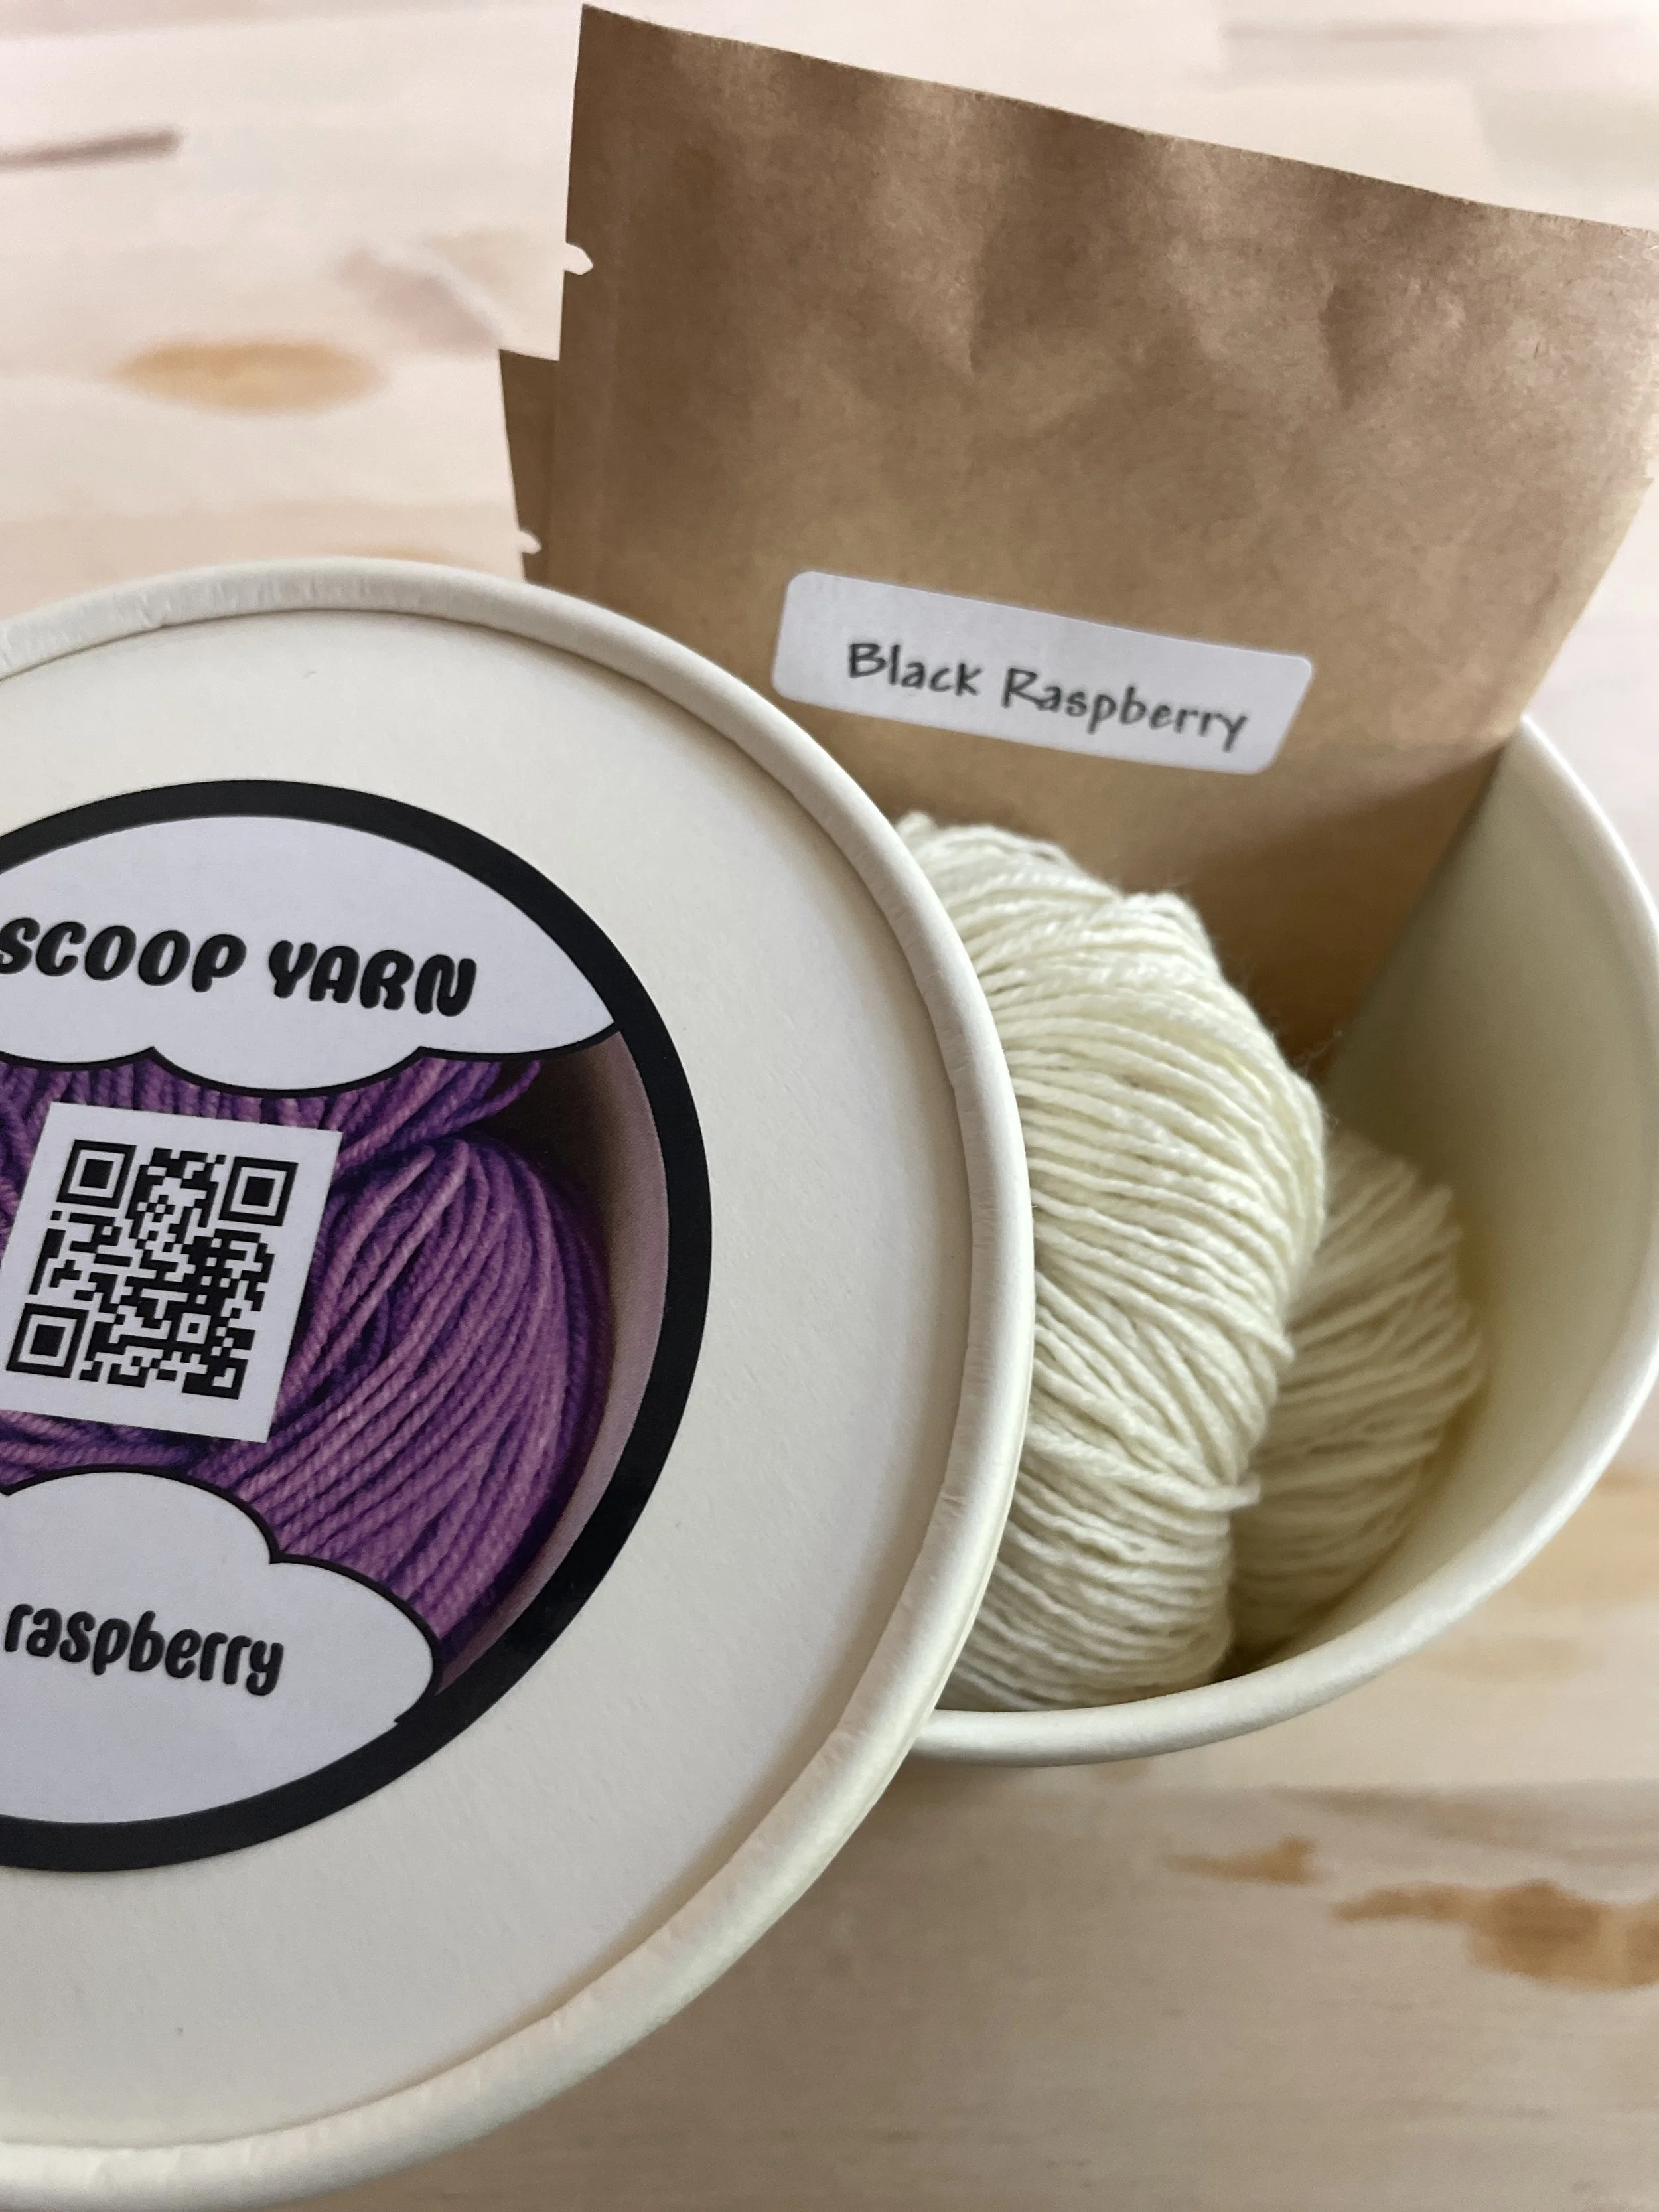
1. Open your Kit. Inside it you’ll find a skein of yarn, and 2 paper dye packets that look similar to those you find in a jello box. These packets contain a mixture of dye powder and citric acid, along with a desiccant pack that you will remove before dyeing your yarn.
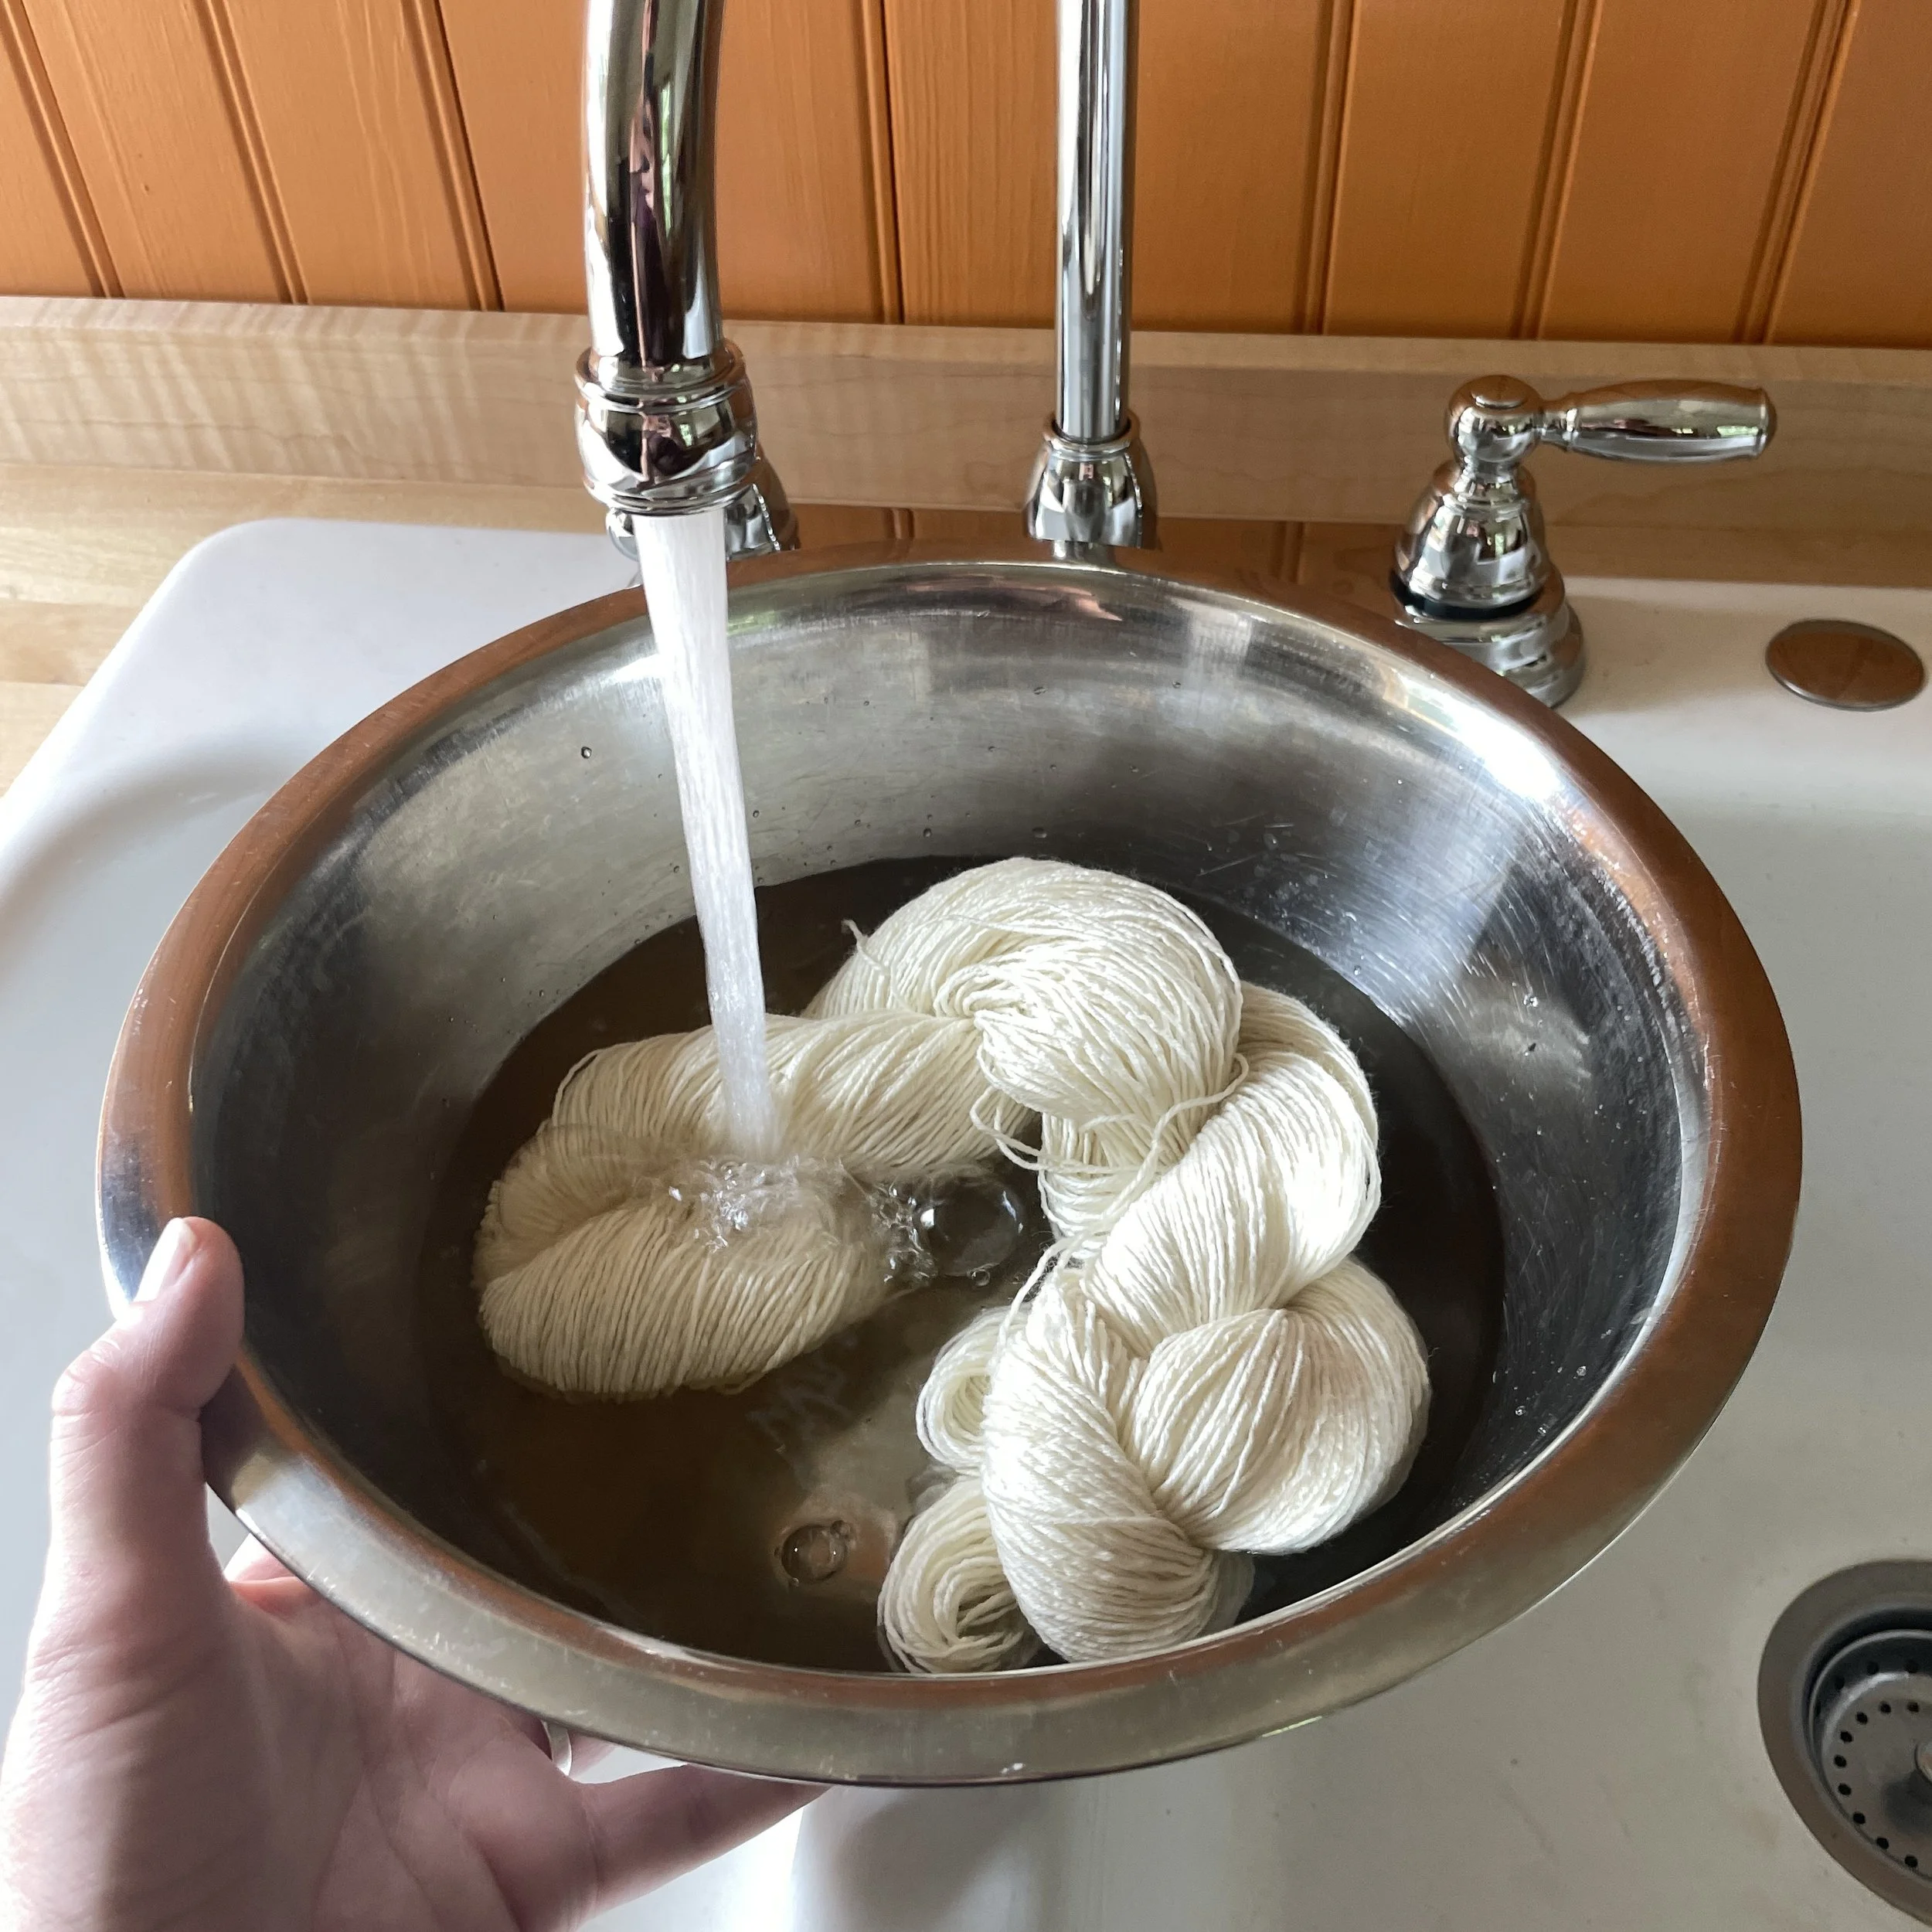
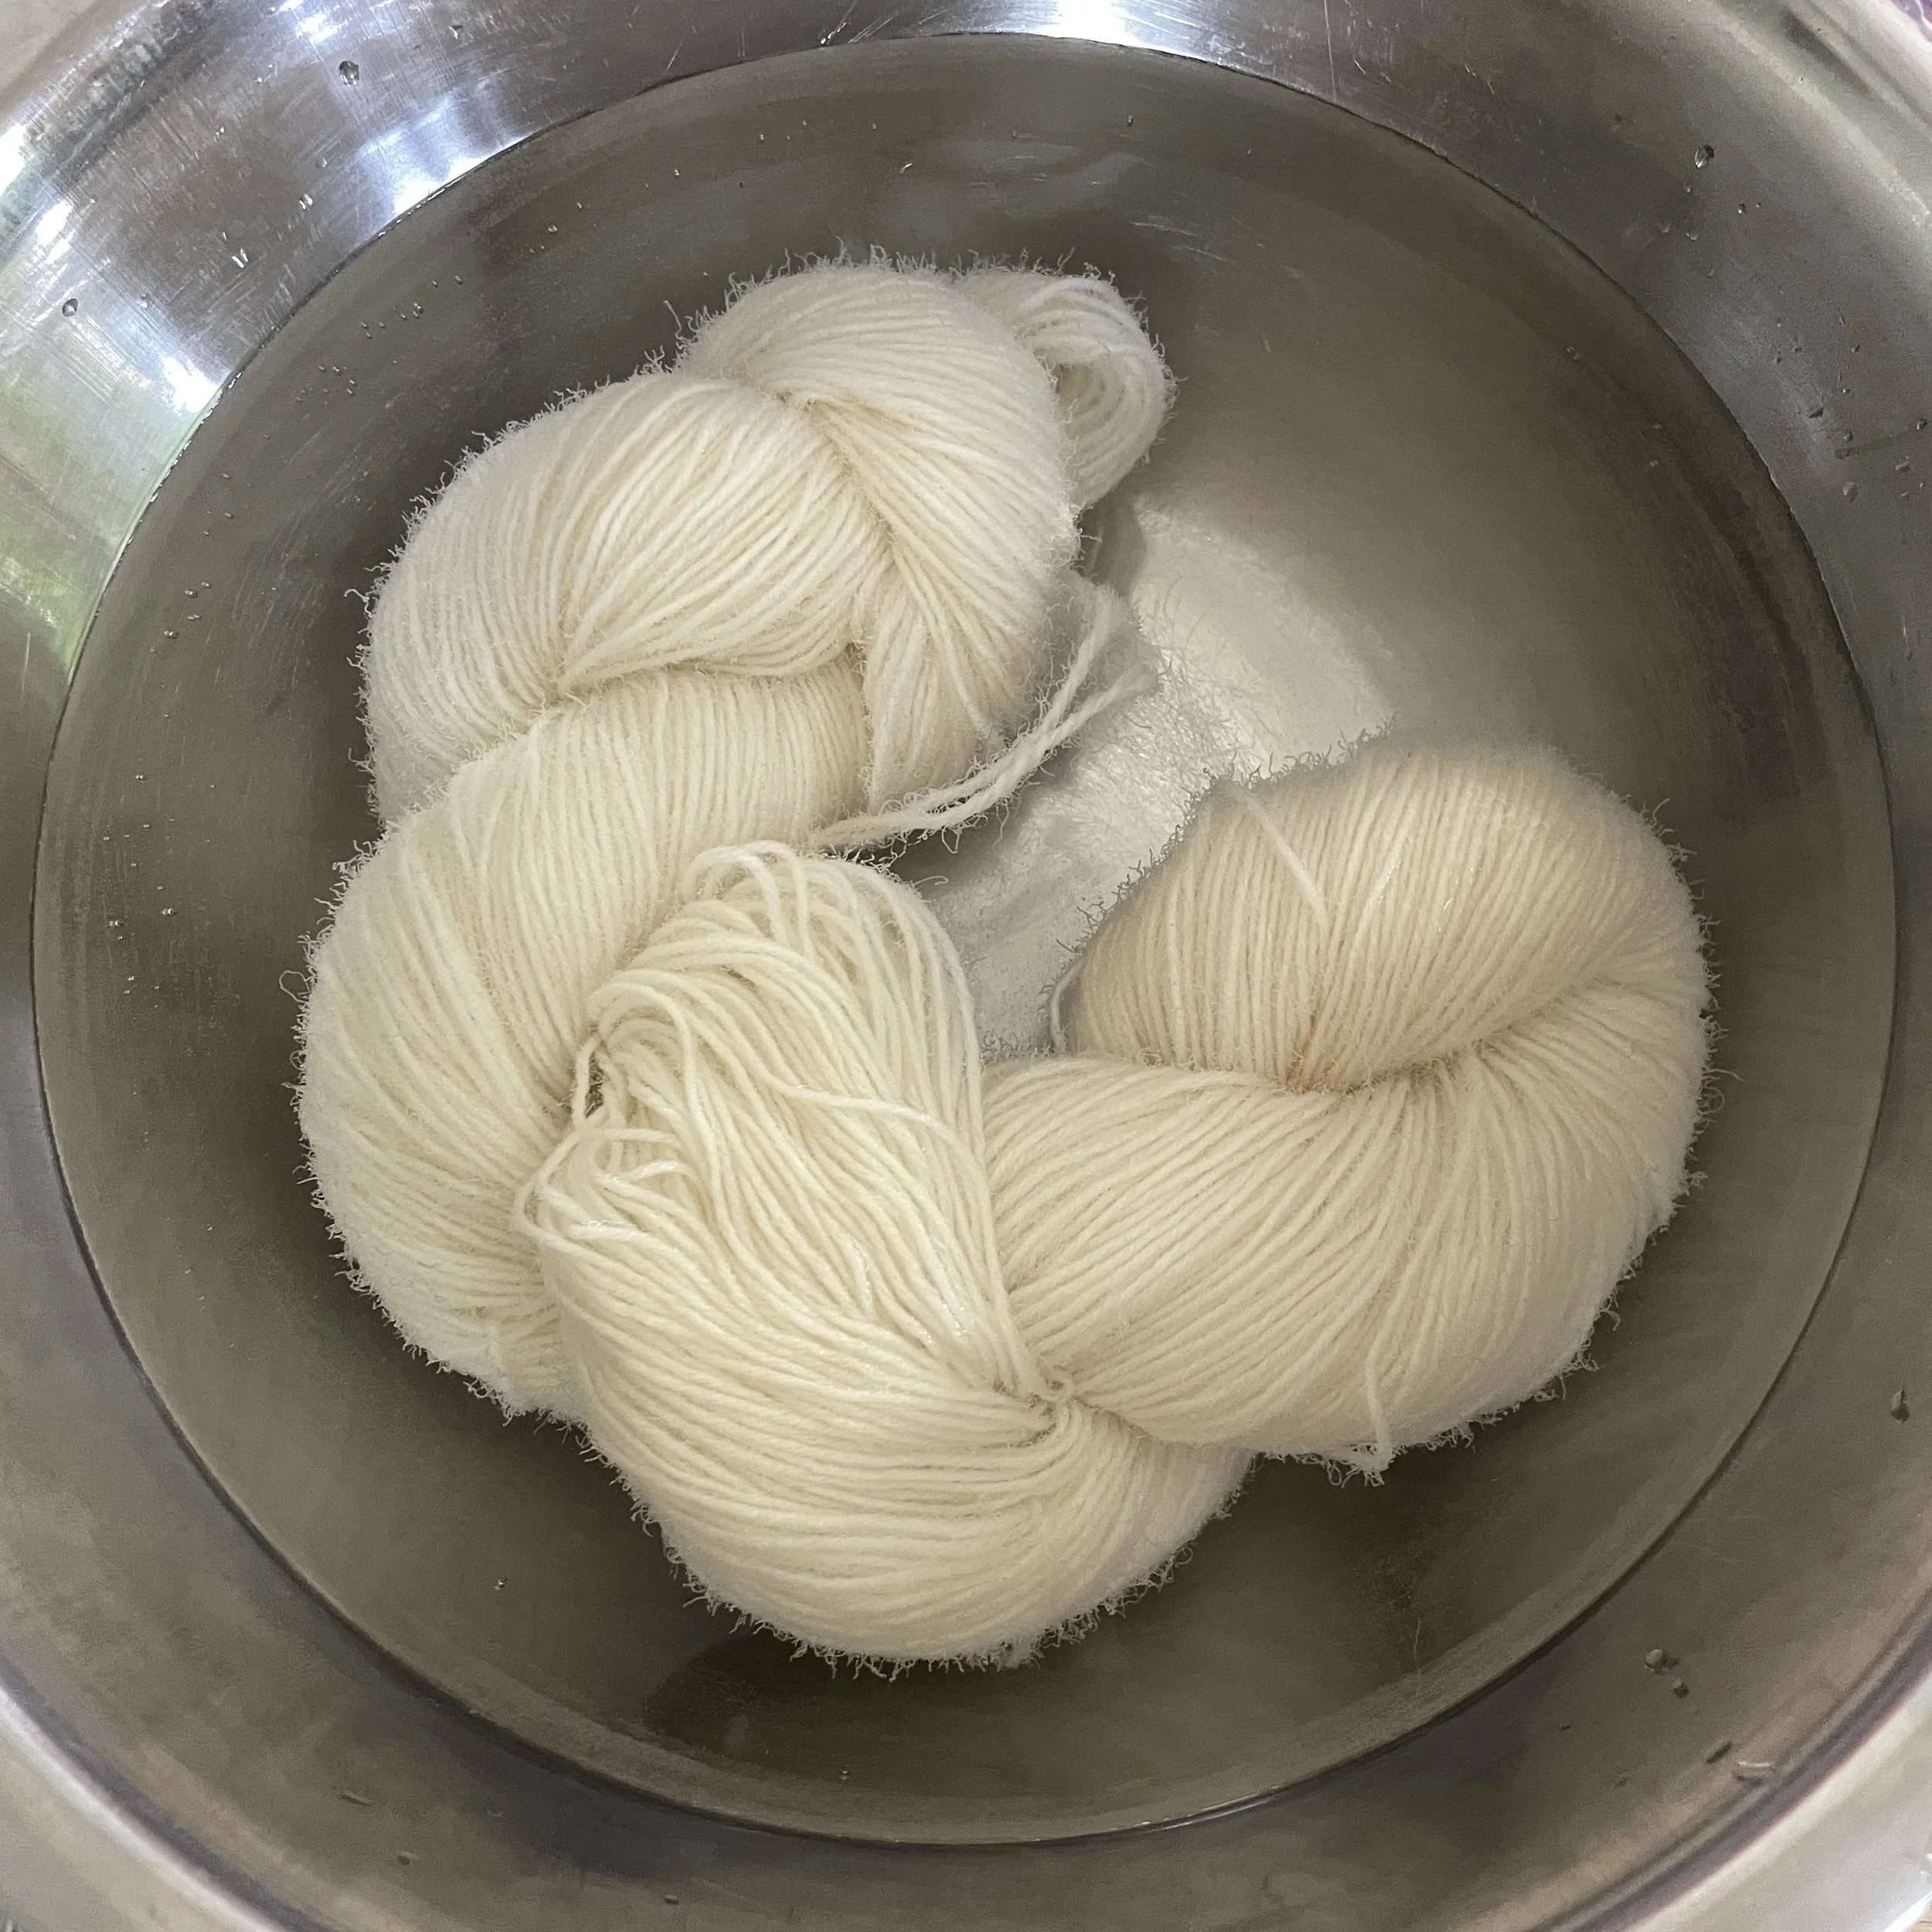
2. Fill your bowl with nice warm water. Take your skein of yarn, and gently lower into the warm water. Allow the yarn to sit in the water for at least 10 minutes. 20 is better. Pour yourself a nice beverage… put on some music… take your time and enjoy the process!
NOTE: Did you read the instructions all the way through? You rebel! I never read them either, but now that the yarn’s soaking you really should read the directions!
3. Once your yarn is soaked and you’re nice and happy and mellow, pour water into your cooking pot or microwave. Next, rip open the first dye packet, remove the desiccant pack and pour the contents of the dye packet into your pot or dish.
4. Heat the dye bath and stir to dissolve the dye and citric acid from the packet. If you’re using a microwave, start with a few seconds at a time. The worst thing that can happen when using a microwave is that you give it too much time and it boils over, trashing the inside of your microwave!
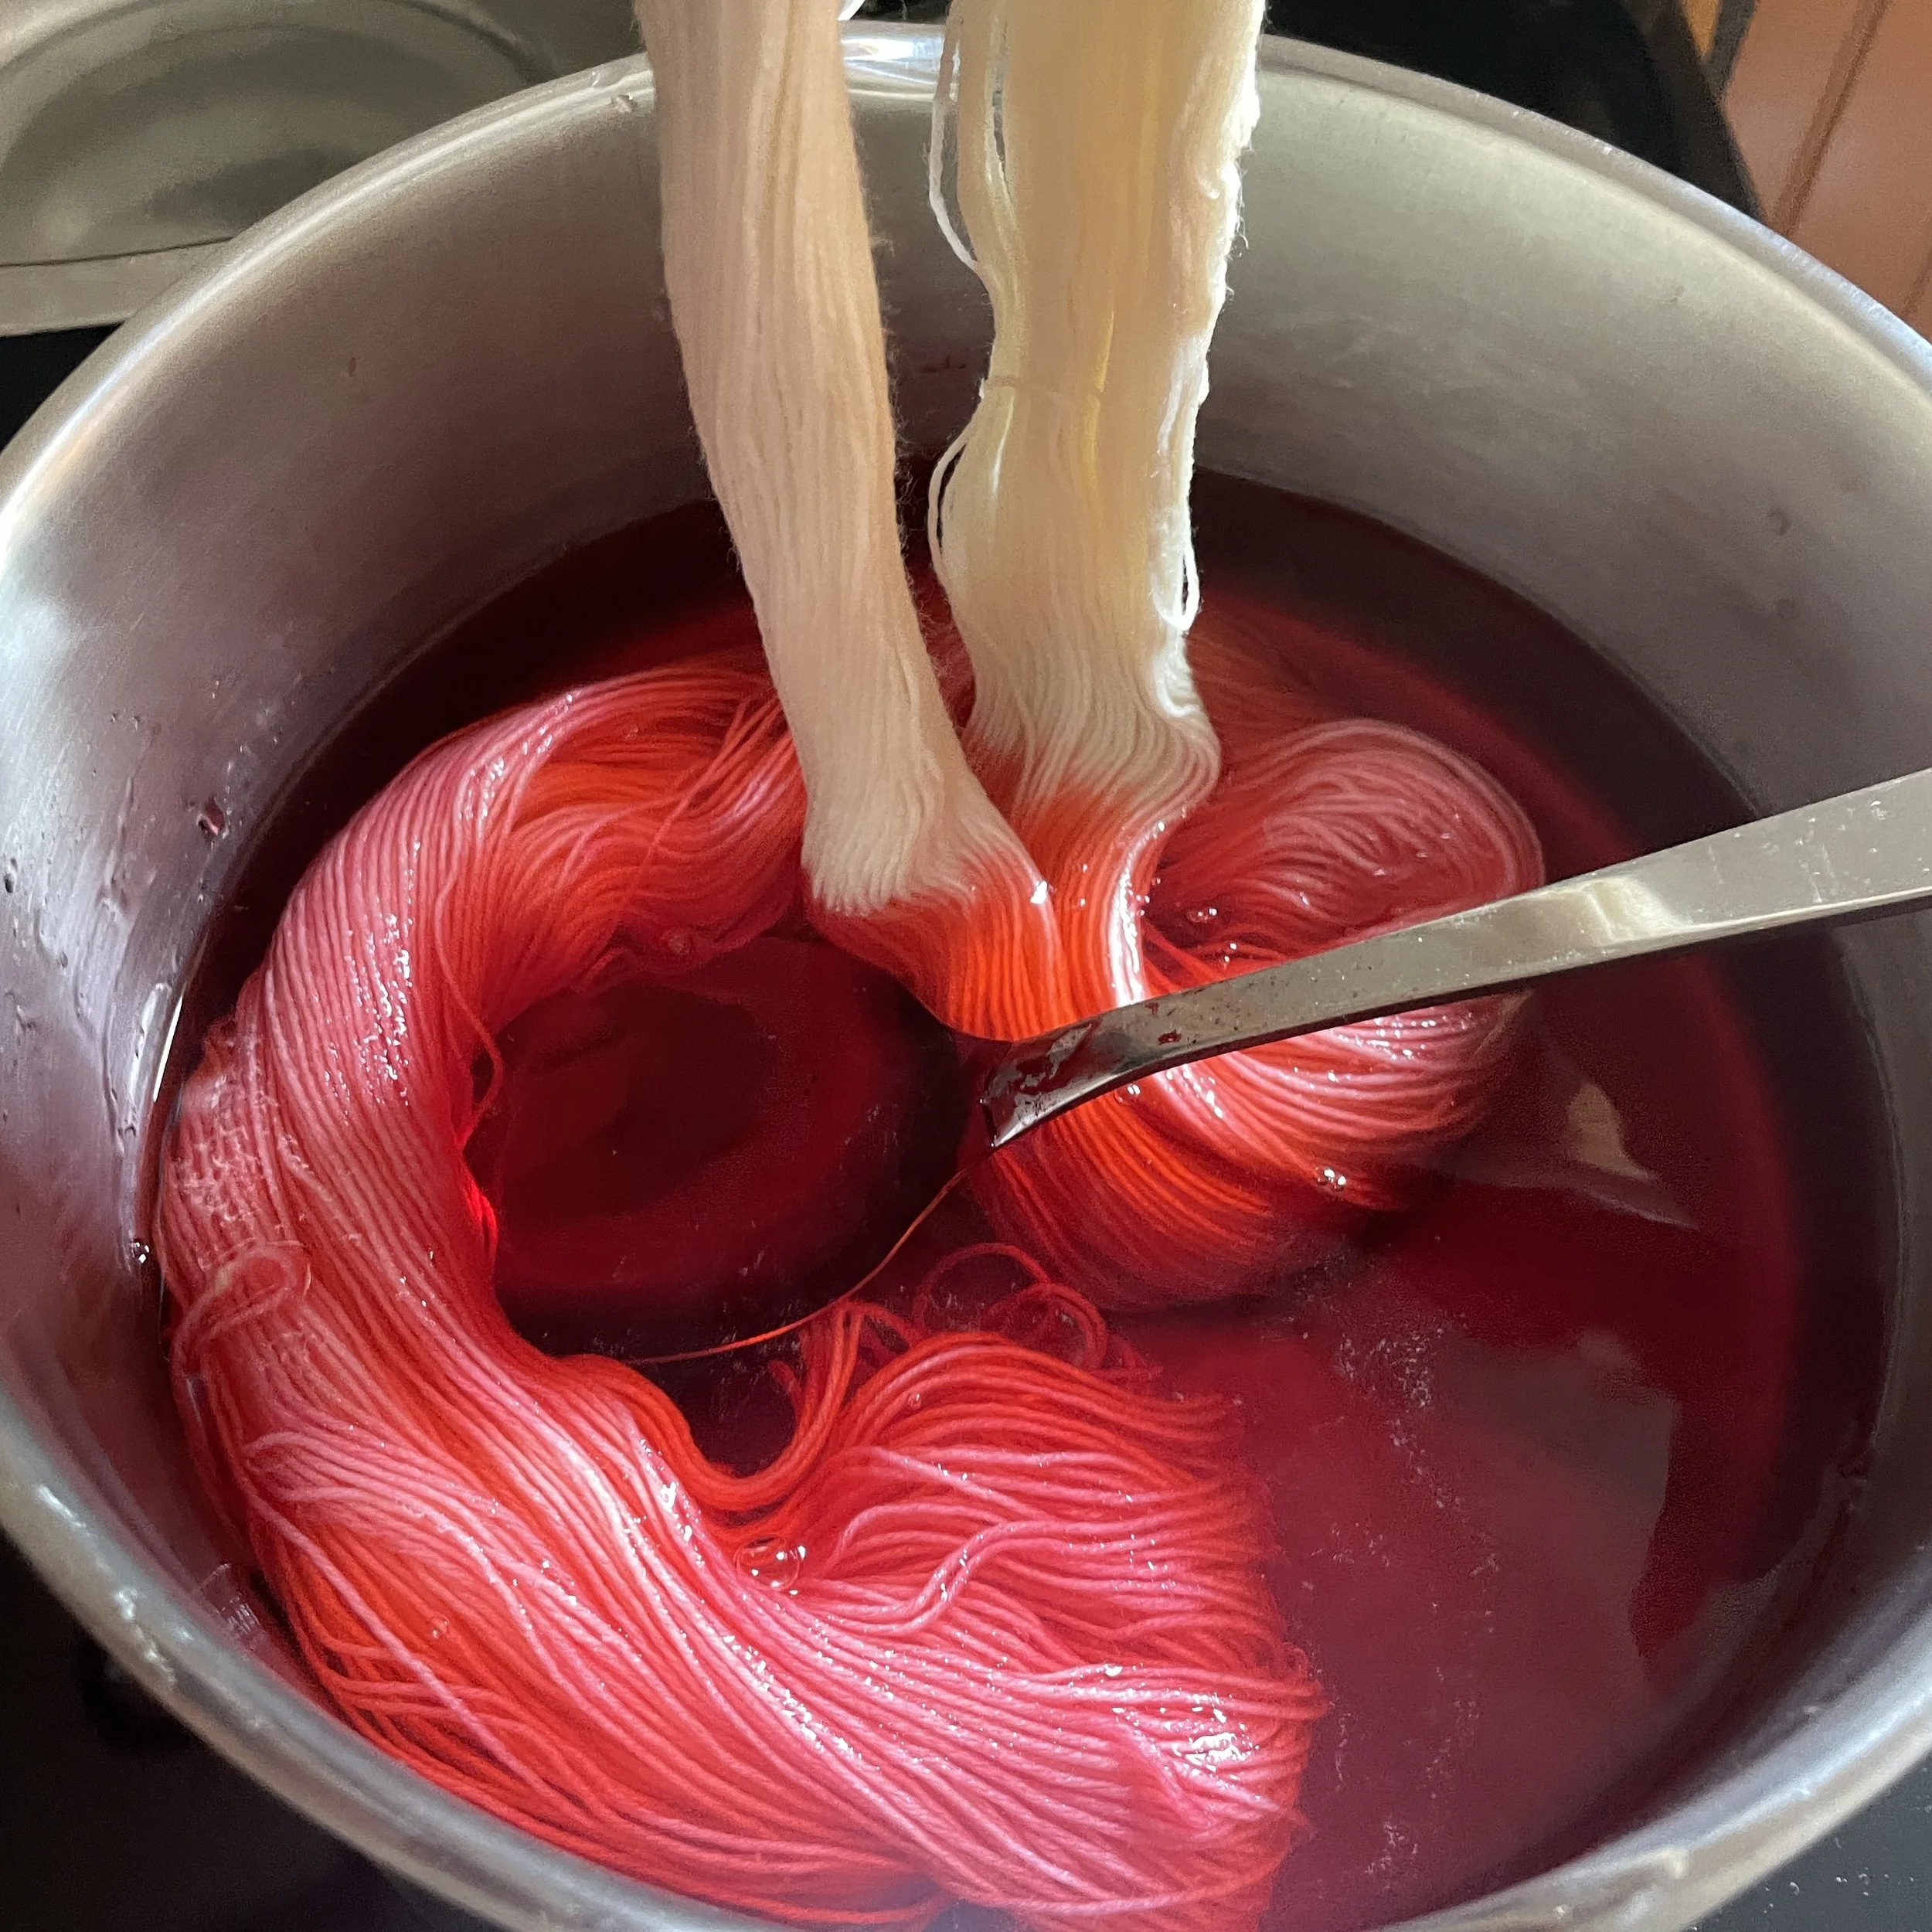
5. Once the dye bath is well dissolved and nice and warm, turn your attention to the soaking skein. Pull it out of the water, squeezing as you go. Then, gently unwind the skein before lowering it into the dye bath. You’ll want to give it some pokes with a chopstick or other utensil, but don’t stir it up or you’ll tangle your yarn!
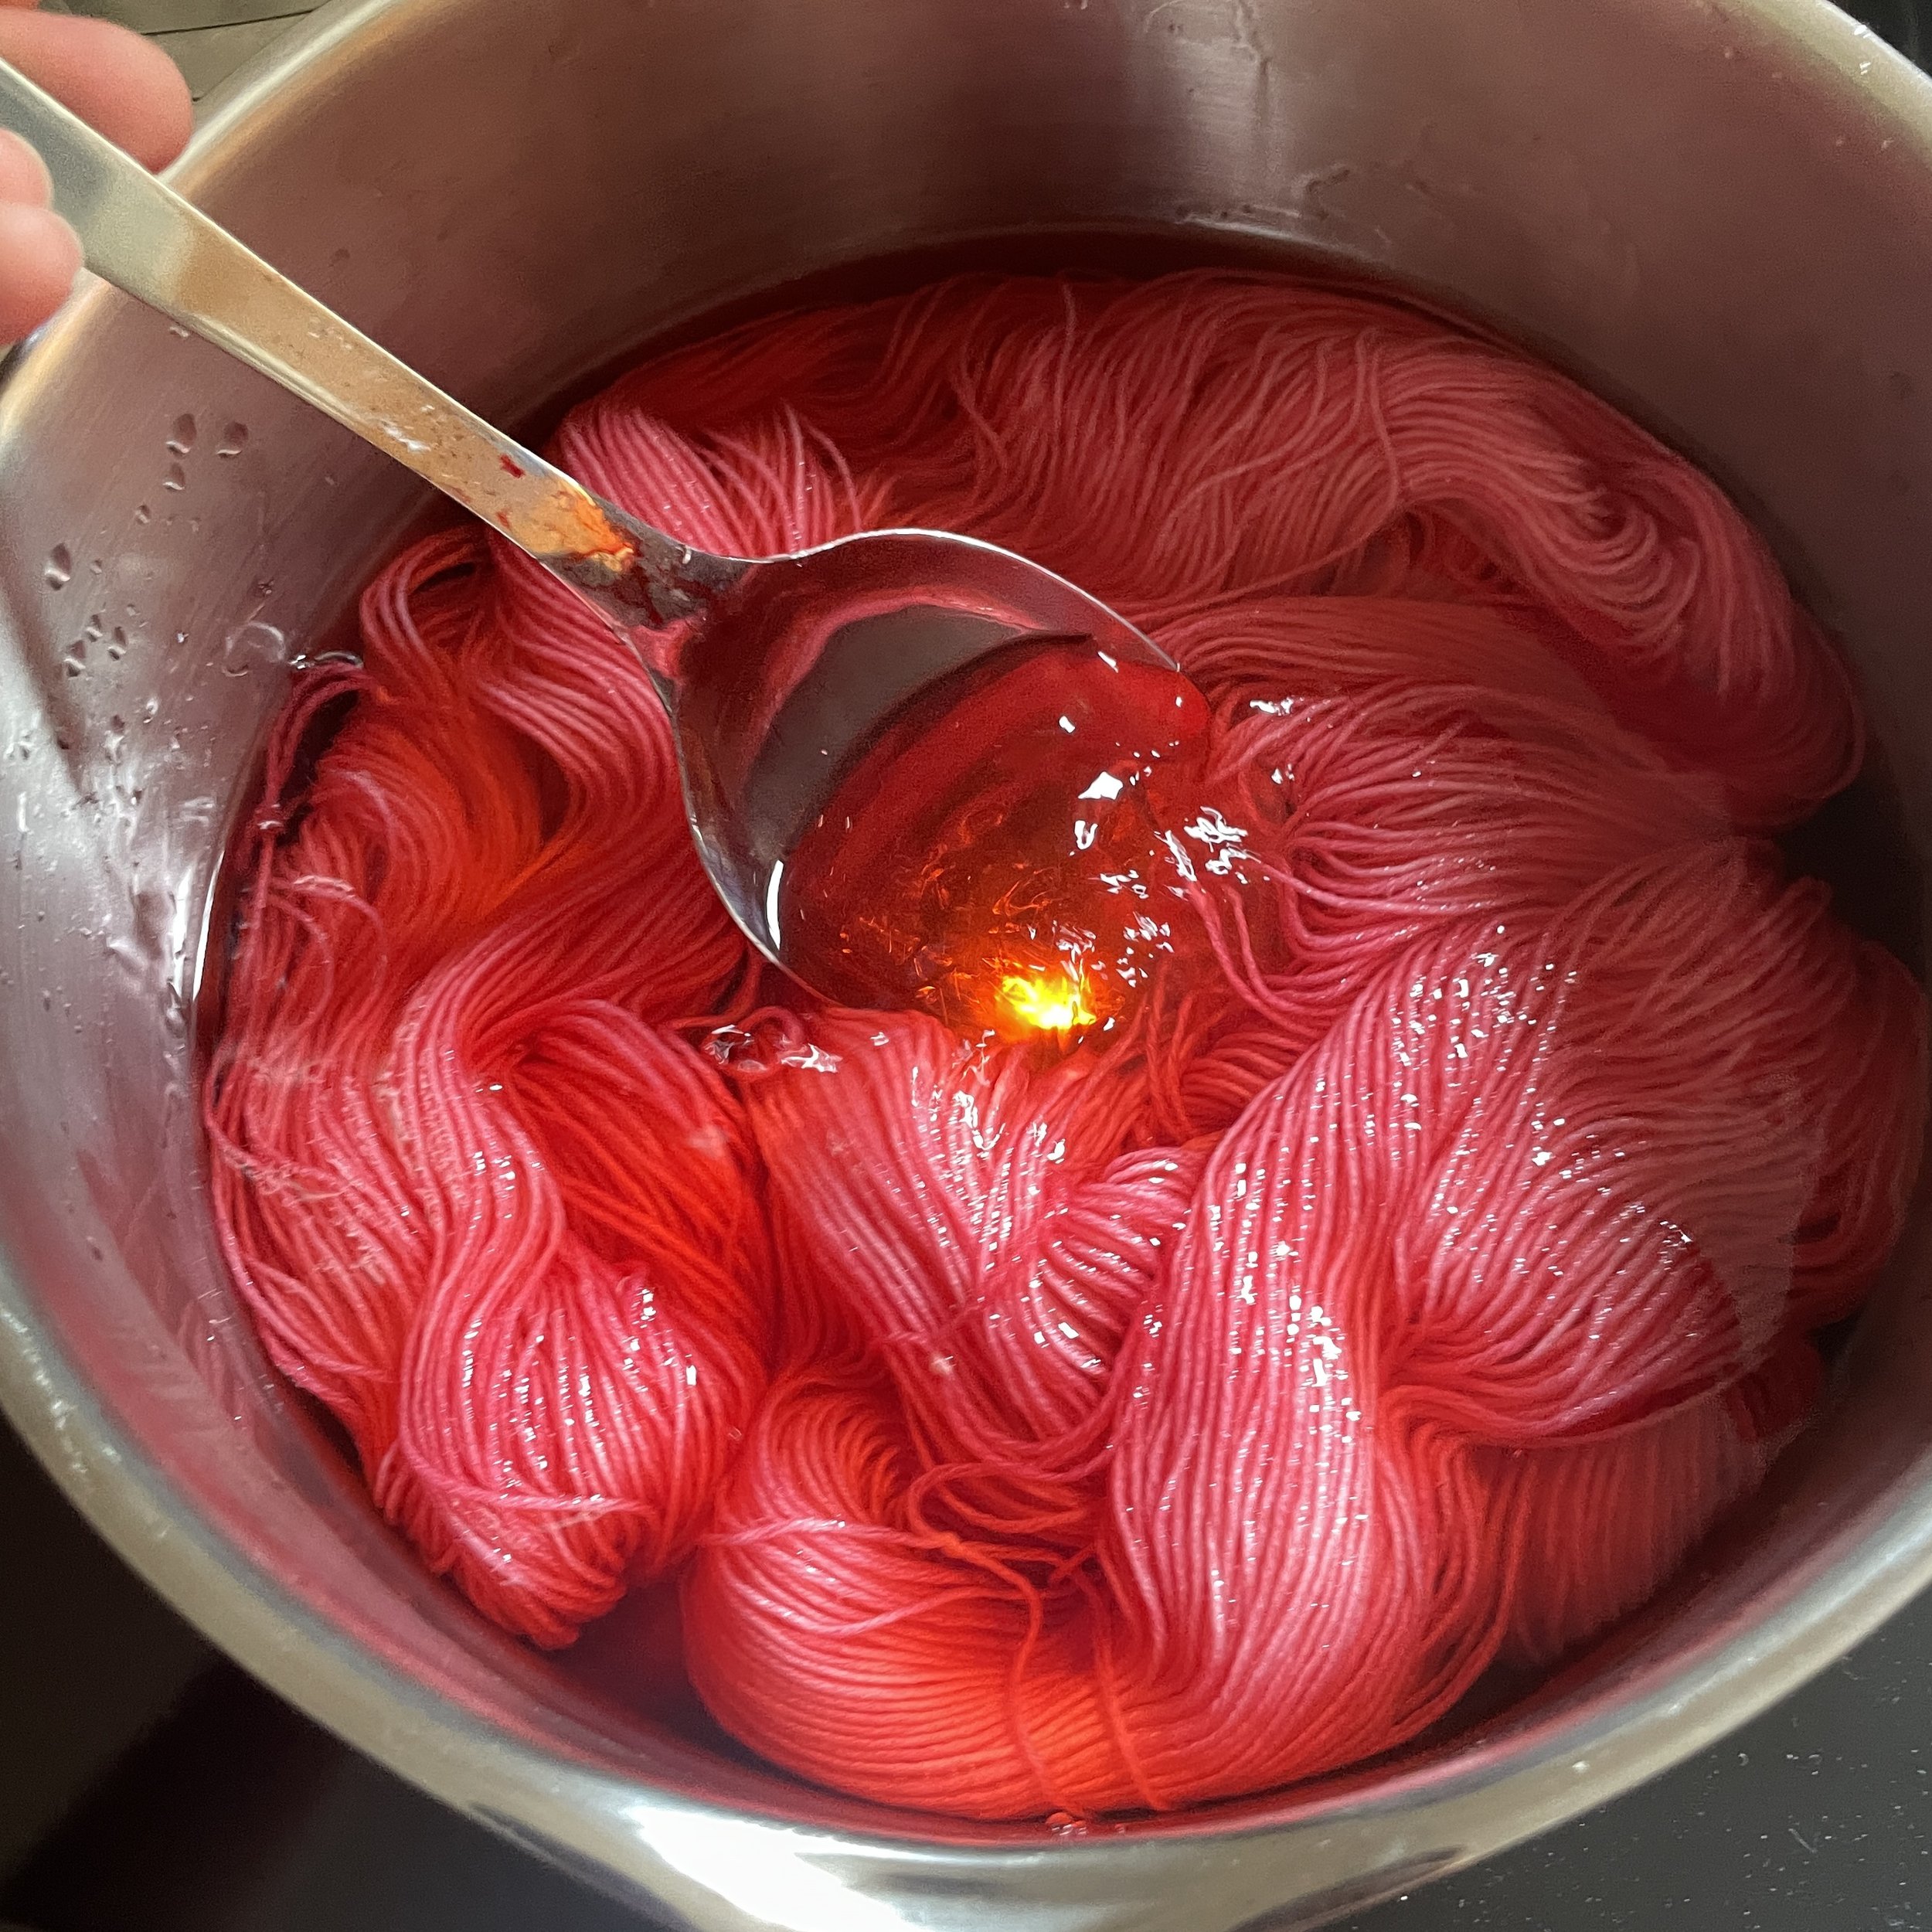
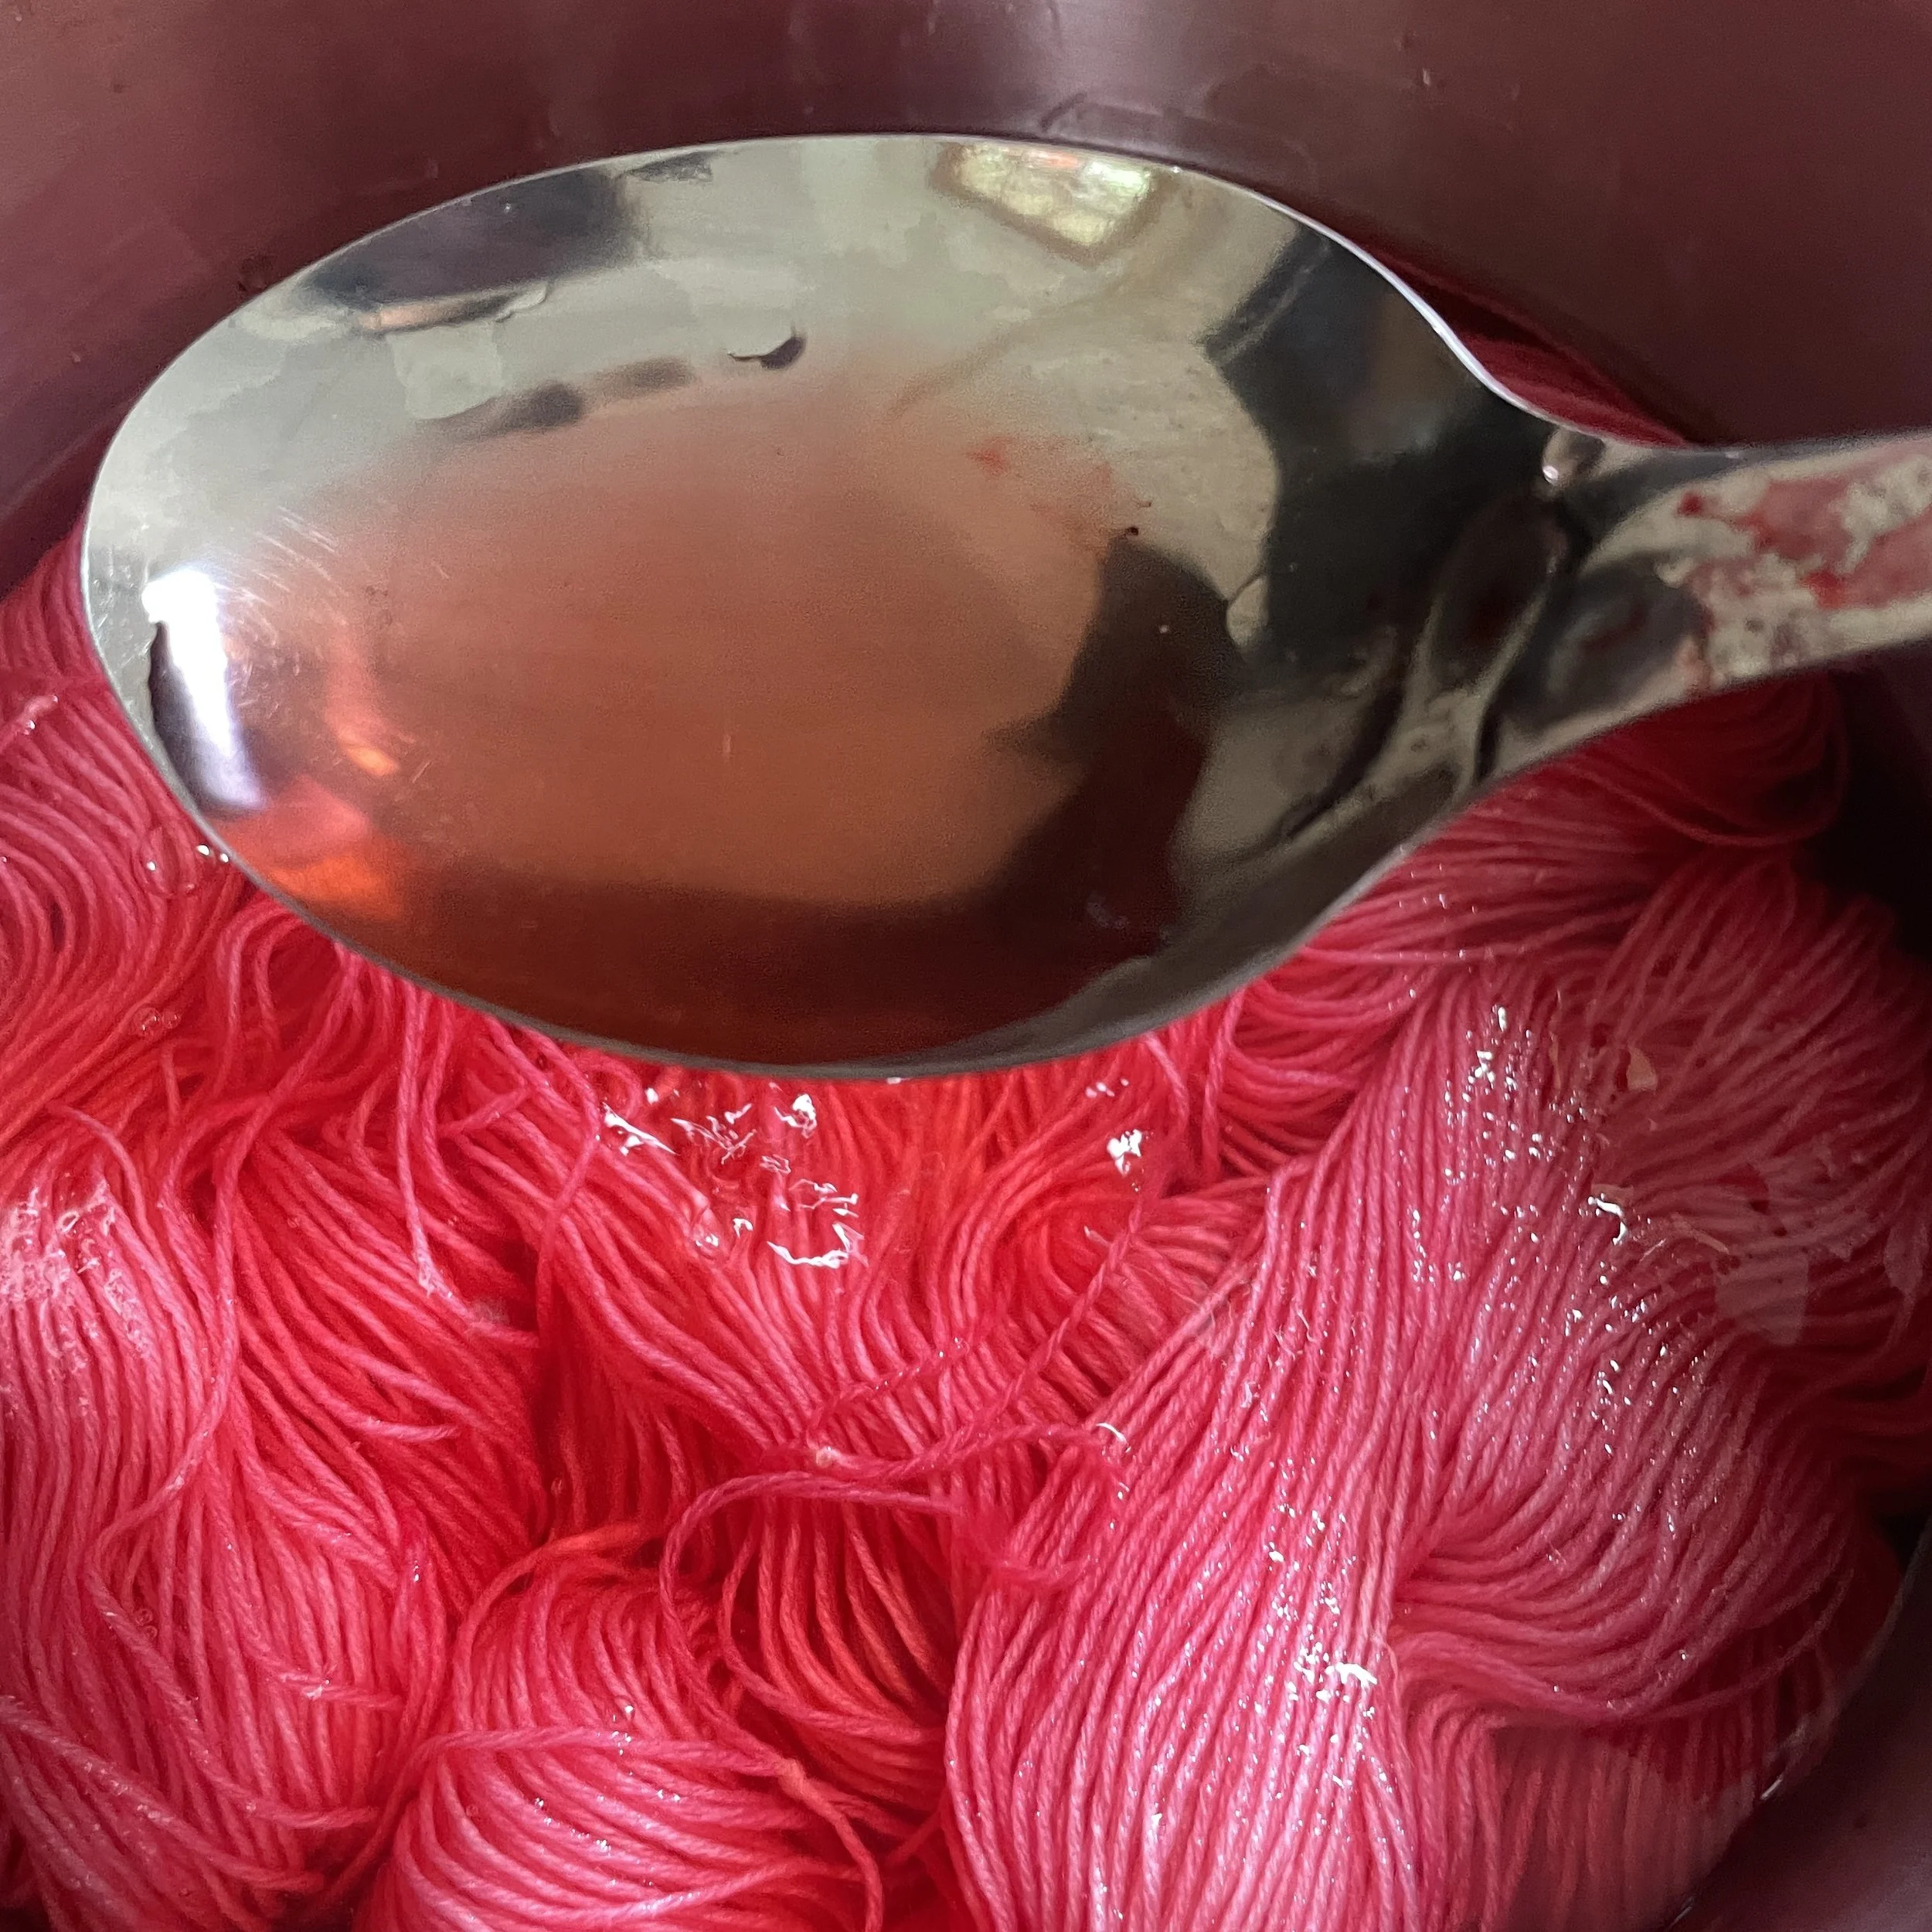
6. Heat the dye bath (and the skein) and simmer until the water is mostly clear (don’t worry if there’s still a bit of dye left over in the dye bath). Want more color? Squeeze out the skein, pour the contents of the second packet into the dye bath, and repeat. OR, you can save some of the dye to add speckles, to mix and match with other kits, etc. *
7. Rinse your skein (I usually pull it out of the dye bath and just put it back in the soak water to rinse). Squeeze out excess water, then hang to dry!
* Check out the Speckled instructions for ways to mix and match! Feeling creative? Dye half your skein using the first packet, then speckle the other half with the second one!

